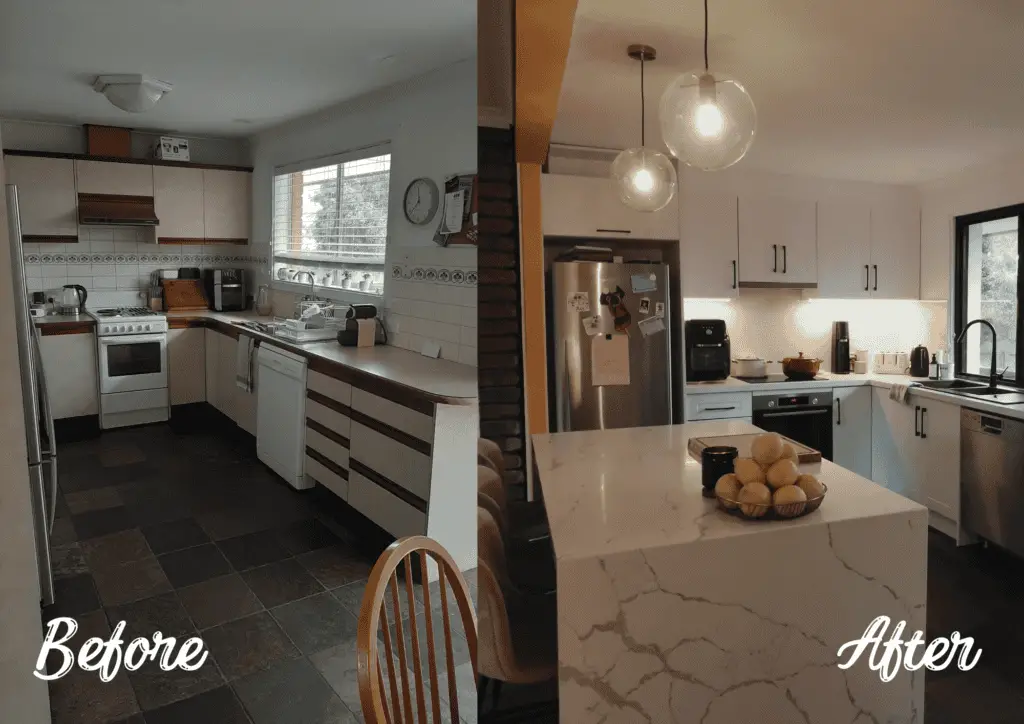
Skip to content

DIY Home Decor Project – Old wooden desk upcycled

A photo of the finished desk upcycle. Wooden desk top and black matte base and legs. New gold handles.
Completed wooden desk upcycle on a budget

Before and after photos - upcycle project

Last weekend I decided to undertake the task of transforming on old desk to one my husband and I can use comfortably. Desk ergonomics[1] recommend your desk [workstation] should have the following features:

  • a flat smooth surface for the keyboard and mouse so they can be used on the same level
  • space to position all the equipment so that posture or vision is not compromised when completing tasks
  • a suitable height (e.g. 680-720 mm when measured from the top of the workstation to the floor)
  • adequate clearance for legs under the desktop
  • sufficient space under the desk to comfortably stretch legs

[1] Economic Guide to Computer Based Workstations by Queensland Government https://www.worksafe.qld.gov.au/__data/assets/pdf_file/0006/83067/guide-ergo-comp-workstations.pdf

Current desk is not ergonomic

Our current desk was far too narrow and low down to sit at comfortably. There was not enough space for either of us to stretch our legs and the keyboard and mouse were on different levels. The screen was also positioned too low.


Old desk we found to be upcycled

Old wooden desk with missing handle and scratched desk top
Desk we found for free on Facebook Marketplace to be upcycled

The new desk we found on Facebook Marketplace for free (yes, free!) was a little tired and missing a handle but I knew it had potential. The top was a bit scratched but nothing a good sand down couldn’t fix. The man who gave it to us had a story about how his uncle had made the desk for him and his wife around 40 years ago. I love furniture with some history and it made the restoration even more special. The measurements fitted the recommendations of desk ergonomics much better than our current desk. 


Step-by-step guide including top tips on upcycling a desk:

For this project I used the following tools and materials:

  • An old sheet (to rest the desk on to avoid paint going everywhere and also to protect the desk top whilst it is upside down)
  • Sandpaper – coarse (40 grit) and fine (240 grit)
  • Dishcloth and Turpentine (to wipe surfaces free from dust)
  • Wood Putty and Putty Knife (to fill holes and chips in wood)
  • Varnish, varnish brush & stirrer (I chose a satin finish and a water-based varnish for easy cleaning afterwards and less toxic smells)
  • Spray paint (I chose Flat black (Matte) and ended up using 2 cans. It was quicker for me to spray than hand paint and less brush cleaning afterwards) 
  • Face mask (to protect yourself from the dust and the spray paint fumes)
  • Masking Tape and Bin Bags (to ensure drawers and areas I didn’t want to be painted were kept safe from the spray paint)
  • Screwdriver (for removing handles and fixing new ones)
Photograph of materials and tools used for desk upcycle

Step 1

I started with the drawers and took them out of the desk. I removed the handles using the screwdriver and then sanded the drawer fronts (I wasn’t going to paint the inside of the drawers so I didn’t worry about these). Wearing the face mask, I used the coarse sand paper to remove any existing varnish and wiped the dust away with a small amount of turpentine on the dish cloth. I filled any holes with the wood putty using the putty knife. Once the putty was dry (around 10 minutes) I used the finer sandpaper to ensure the drawer front was nice and smooth. I again wiped away the dust using the cloth and turps.

Step 2

I masking taped around the edge of the drawers and covered the areas of the drawers I didn’t want to be painted with a bin bag fixed in place with masking tape.

Photo of drawer masking taped and covered in a bin bag ready for spray painting.
Drawer masking taped & covered in a bin bag ready for spray painting.

Step 3

Ready for spray painting! Wearing the face mask, I stood the desk drawers up on an old sheet in the garden and spray painted the drawer fronts. I found 2 coats was sufficient, waiting approx. 1 hour between coats (please check your spray paint directions as this can vary).

Top Tip. Prep, prep, prep. Annoying as it is as you can’t wait to see the finished product – it is always best to make sure surfaces are well prepped before you jump straight into varnishing or painting.

Step 4

Now for the main desk. I followed the same procedure starting with the desk legs and base. I stood the desk upside down on an old sheet in the garden and sanded the base of the desk, starting with the coarse sandpaper. I wiped the dust away with the dishcloth and a small amount of turpentine and then filled any holes with the wood putty and putty knife. Once the putty was dry, I sanded again with the finer sandpaper. Doing this ensures a smoother finish in the end. I wiped away the dust again with the cloth and turps and then used masking tape to cover any areas I didn’t want to be painted. I didn’t need to use bin bags this time.

Wooden desk to be sanded placed upside down on old sheet in garden.

Step 5

I sprayed the desk base (which took 2 coats and 2 cans of spray paint!) leaving approximately 1-2 hours between coats.

Step 6

Once completely dry (I left the desk overnight), I turned the desk over so it was now the right way up. I decided to varnish the top rather than paint so I sanded with the coarse sandpaper. I tried to remove all scratches and stains. It is best to take your time over this as this will be the most visible part of the desk and varnish will not cover it (not like paint). Once I was happy with the finish, I wiped away the dust with the dishcloth and turps and used the finer sandpaper to smooth the surface, finally wiping away any dust.

A wooden desk spray painted black with a wooden desk top.
A wooden desk spray painted flat black with a wooden desk top.

Step 7

Varnish time! I stirred the varnish well with the stirrer (recommended for 5 mintues) and used the varnish brush to paint one coat of clear satin varnish over the desk top and edges. I ended up doing two coats of varnish (the varnish I used recommended a minimum of two coats) leaving 1 hour in between for the varnish to dry. After the final coat – before placing anything heavy on the desk – leave the varnish to dry and strengthen for 24 hours. Please check your varnish instructions as they may differ. Mine was a water-based, satin finish varnish.

A photo of a desk prepped and being varnished.
A desk prepped and being varnished.

Step 8

I fixed four of the old handles back on and added two new handles using the screwdriver.

A painted drawer with the original handle fixed back on.

Voila! End result

A stylish, revamped, solid wood desk with much better ergonomic design.  So far we have both enjoyed working at it this week much more than the old, un-ergonomic desk. I hope the previous owners are proud their custom-made desk is being loved and used. 

A photo of the finished desk upcycle. Wooden desk top and black matte base and legs. New gold handles.
Finished desk upcycle. Wooden desk top and black matte base and legs. New gold handles.
Completed wooden desk close up of gold handle and old brass handles.
Completed wooden desk with gold handles & old brass handles.

Related blog posts

Earthy textured walls, natural materials are key interior design trends in 2023

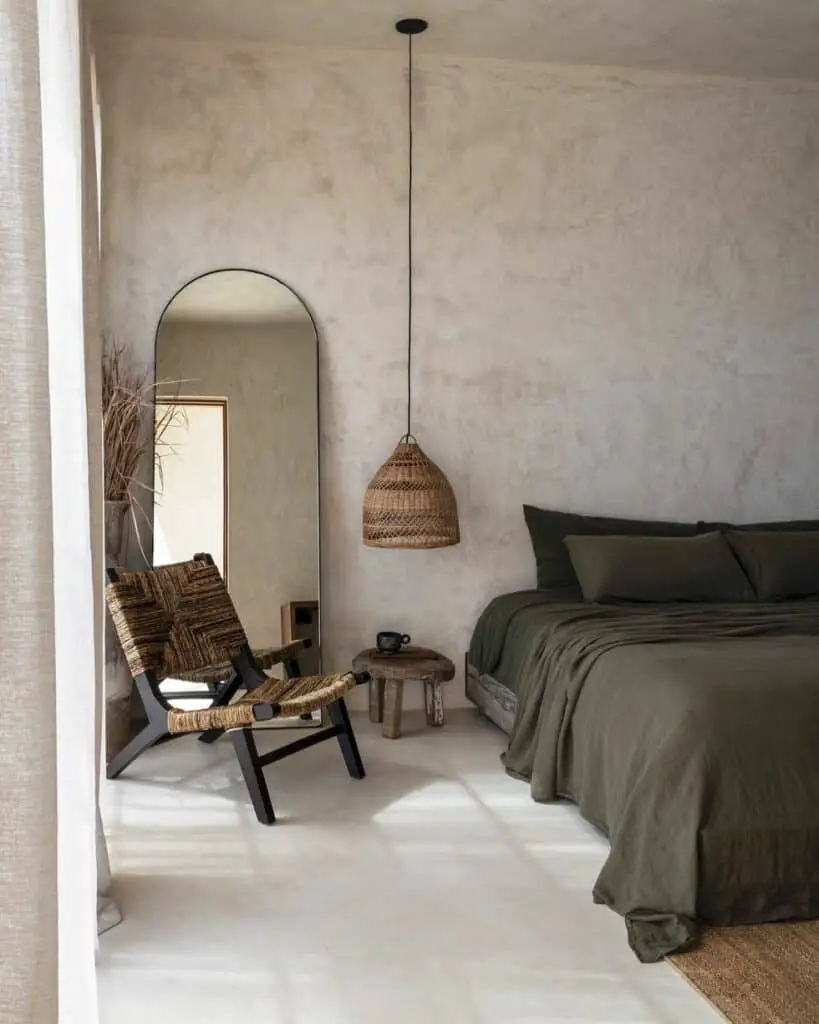
Interior Design Trends in 2023

May 1, 2023

In interiors, 2023 brings earthy tones, textured walls, and classical decoration. Sustainability...

Read More
Flyscreen replacement complete

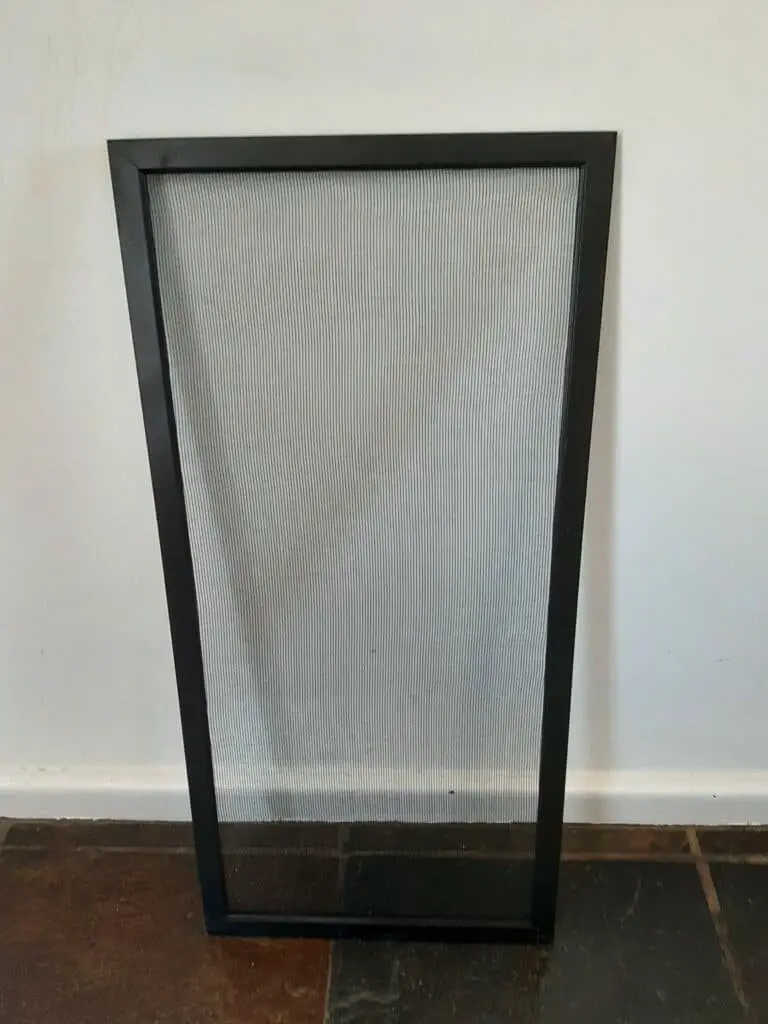
DIY Home Decor Project: How to replace a fly screen

September 21, 2022

An easy DIY project, you can replace your fly screen in a...

Read More
2 bed granny flat Casula Sydney Cubbits

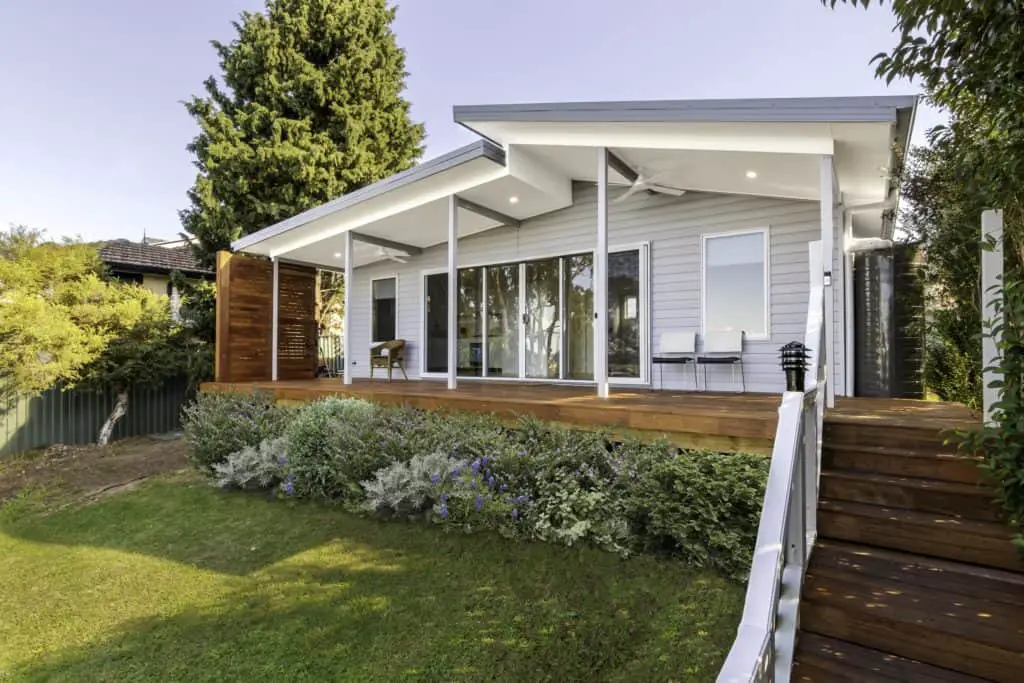
What is a granny flat and is it a good investment?

August 7, 2022

A granny flat is a self-contained unit located on the same block...

Read More
Curved sofas are a big trend for 2022. Curved white sofa in living room

Popular Interior Design Trends in 2022

July 19, 2022

2022 is all about cosiness, comfortability, and longevity. After the last few...

Read More

2 thoughts on “DIY Home Decor Project – Old wooden desk upcycled”

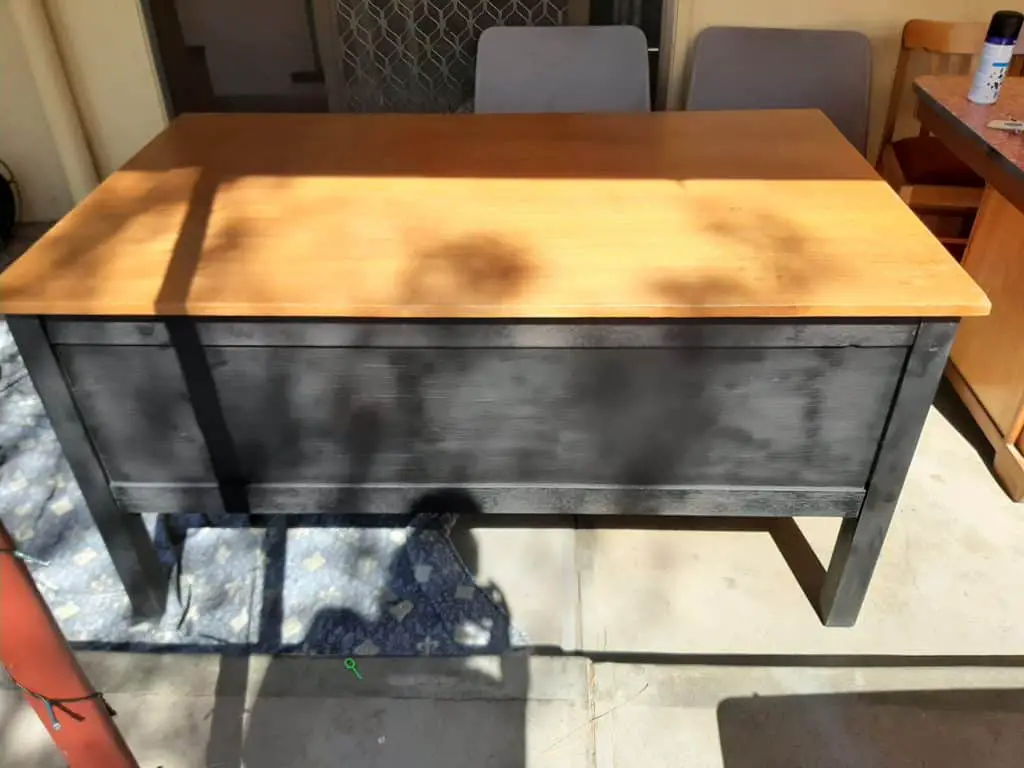
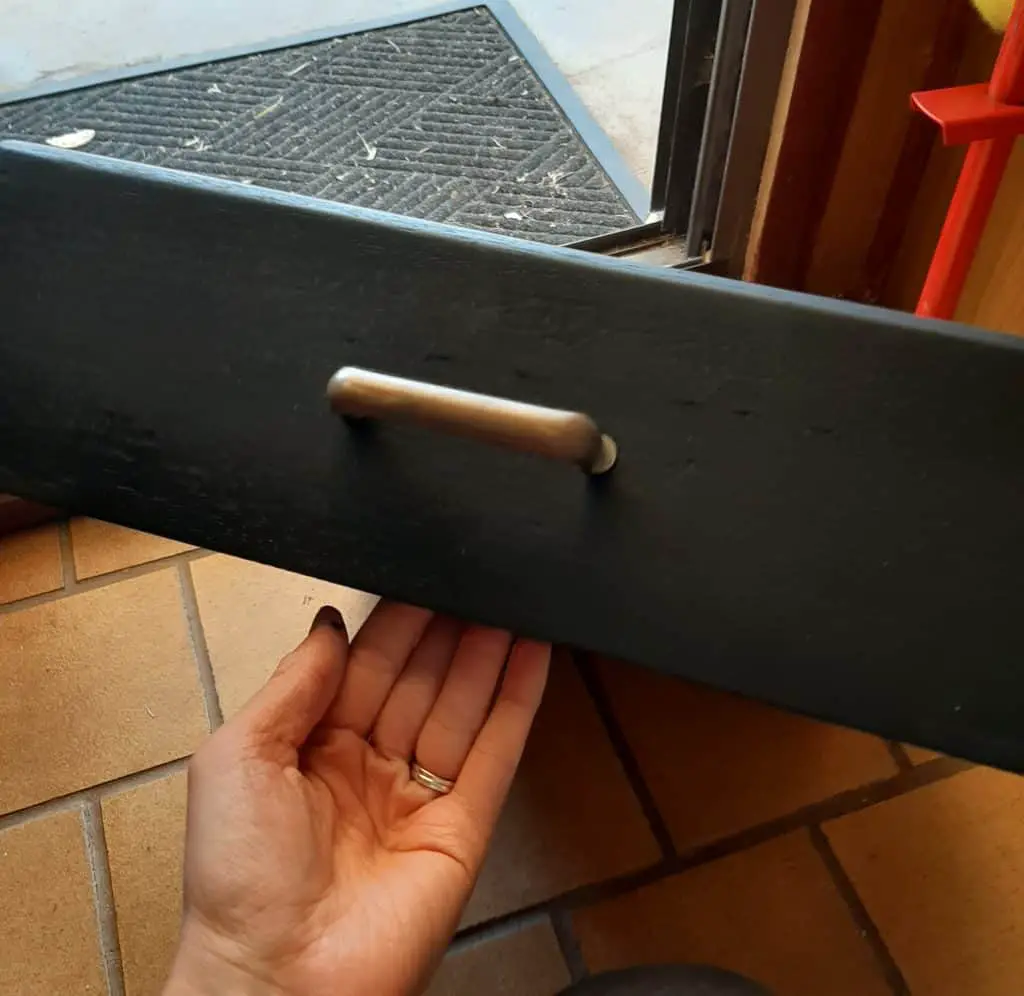
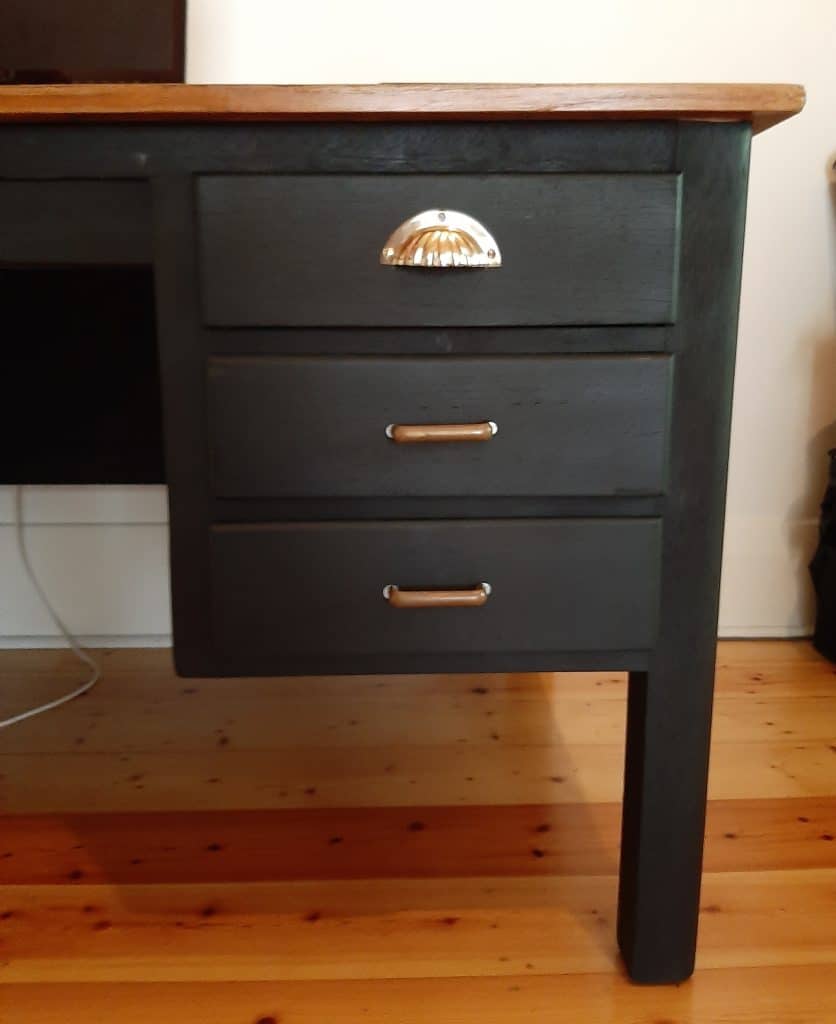
  1. Beautiful makeover! I don’t know that I would have seen the potential but you made it come to life again! Great step-by-step instructions too.

Leave a Reply

Your email address will not be published. Required fields are marked *

5 × one =

Sign up to stay up-to-date & receive a $10 voucher (min. spend $50).