Skip to content

DIY Home Decor Project: How to replace a fly screen

  • Liana 
  • 6 min read

How to replace a fly screen

An easy DIY project, you can replace your fly screen in a few minutes once you have all the tools to hand. You can reuse your existing frame or build a new one. To replace the fly screen in your existing frame you will need a couple of tools, some new mesh and the frame. 

I had previously painted the aluminium frames of my windows – you can see the process here [how to spray paint aluminium window frames]. To neaten everything up, I decided to replace the mesh too as it was all dirty and broken in places. The frame I used had been spray painted black from the original aluminium silver. 

**This post contains affiliate links for which I may earn a commision** I have tried to be as helpful as possible based on my own experience and have linked products to make it easier for you to undertake this DIY project yourself. 

Step 1 - Collect the tools and materials required

For this project, the tools and materials you will need are:

 
The spline width will depend on the width of the gap in your frame so make sure you measure that first before you head to the hardware store or order online (I learnt that the hard way!). The width I used was 4.5mm. 

Different types of flyscreen mesh explained

There are different types of mesh available such as aluminium, fibreglass, stainless steel, polyester for different purposes. I was pretty confused at which one to go with so I hope this research helps you decide:

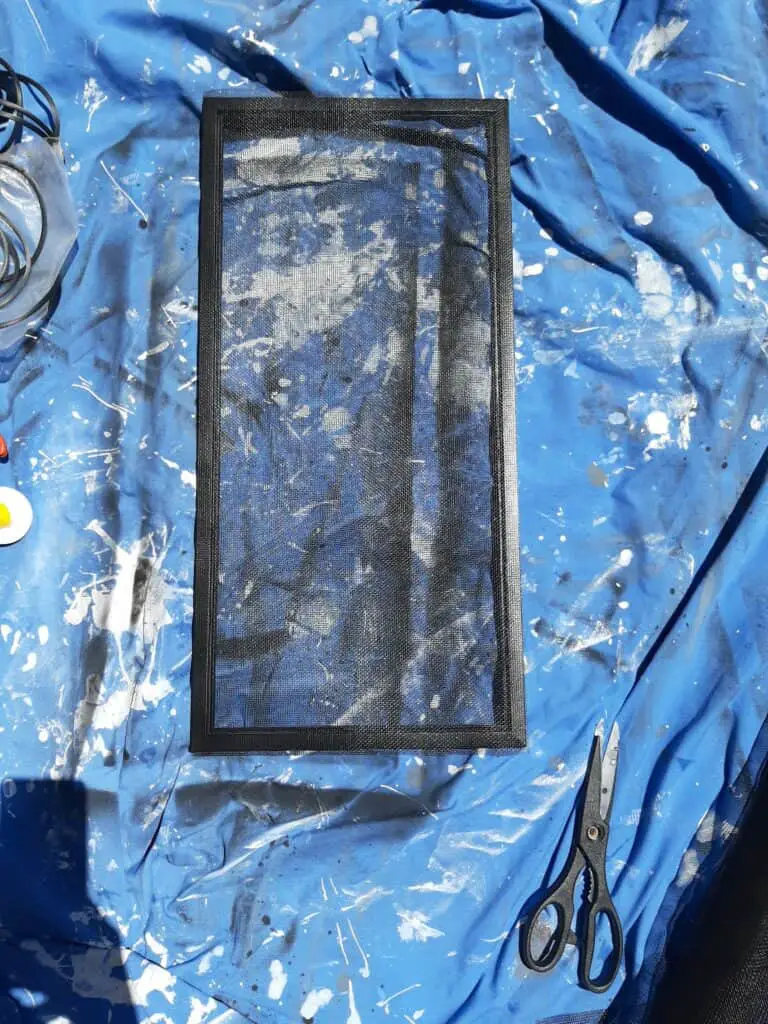
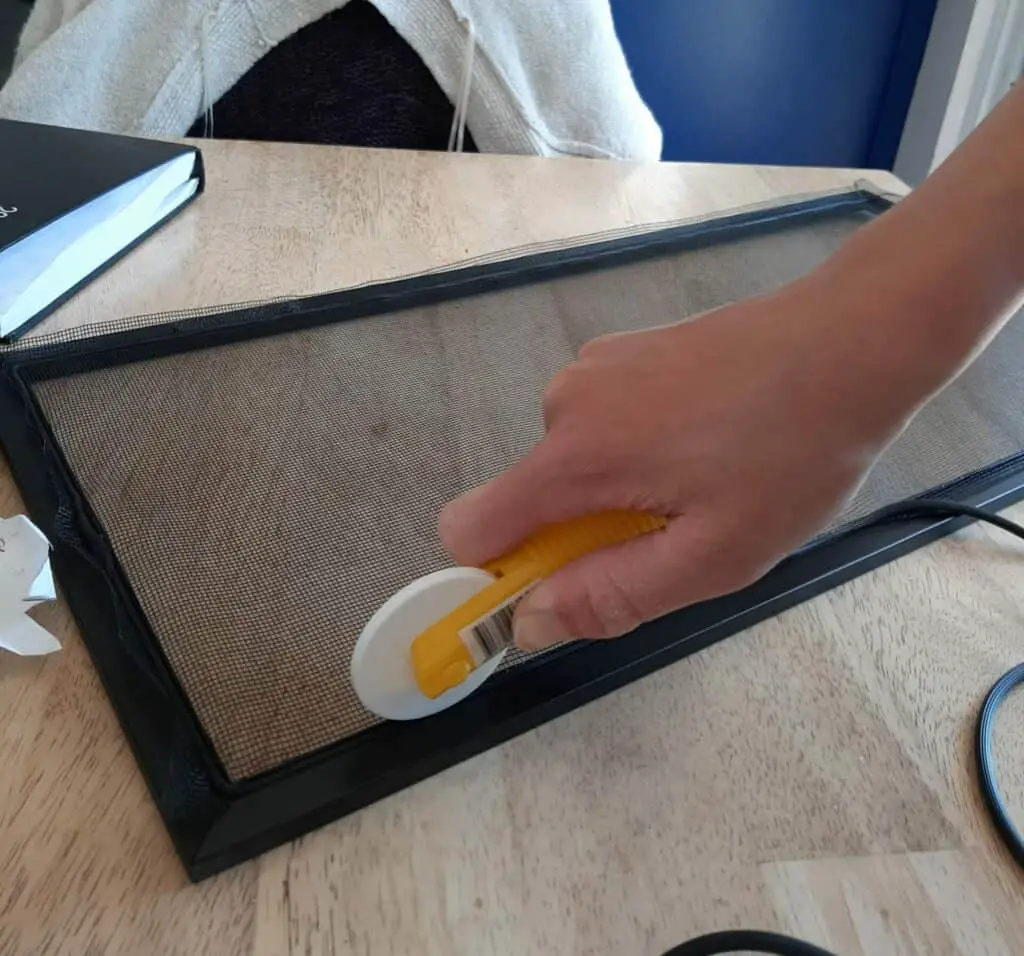
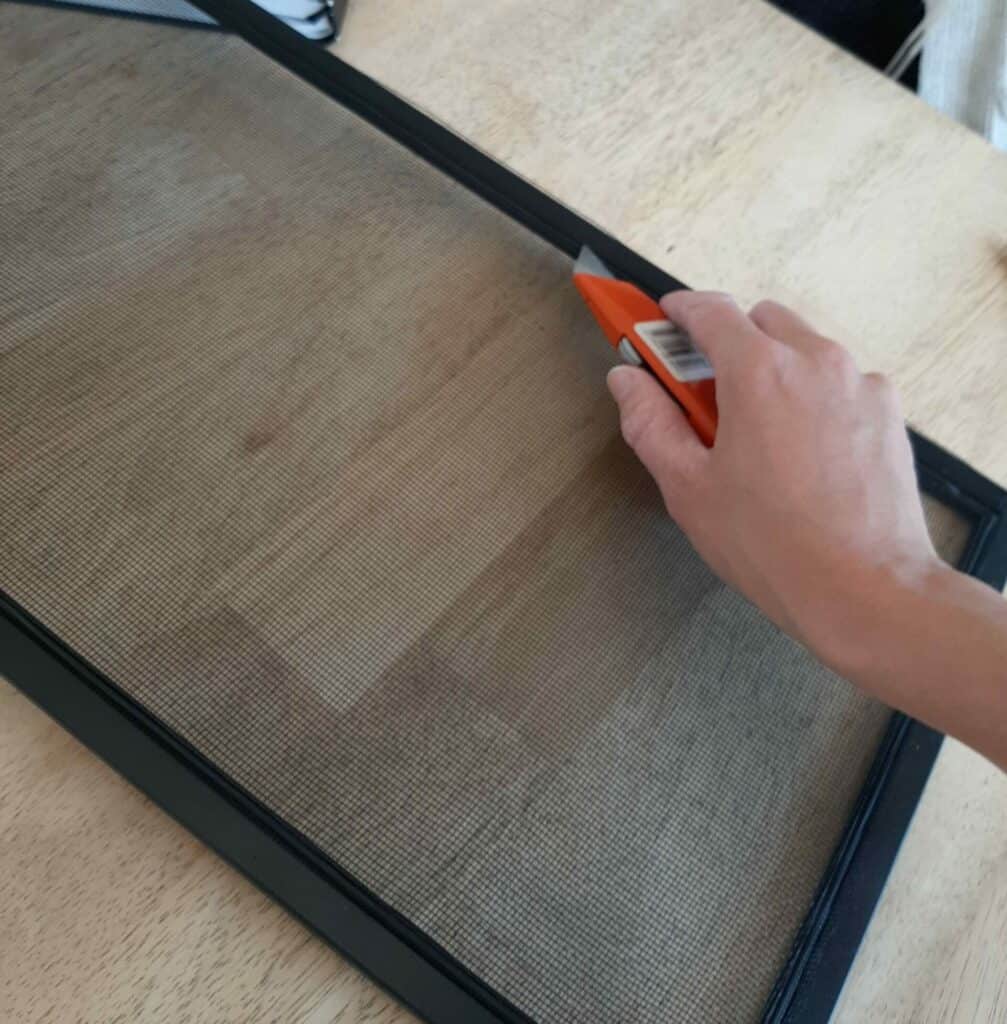
  • Fibreglass – PVC coated fibreglass or ‘nylon mesh’. This is what I ended up using for this small toilet window flyscreen and is the most common type. I found it was easy to cut and fit and has held up well for the last few months since installation. 
  • Aluminium – More durable than fibreglass. Will be a bit tougher to cut and fit in to the frame but not too difficult. I used this on a patio door screen for more durability. Can be sharp when cut. 
  • Stainless Steel – strong and durable. This is good for security doors and in bush fire prone areas. 
  • Pet screen – these are made to resist pet scratches and claws so ideal if you have a screen on a door or window where a pet could reach. These are made from vinyl-coated polyester.
  • Solar – these block some of the sun’s solar rays so are great for North facing aspects. 

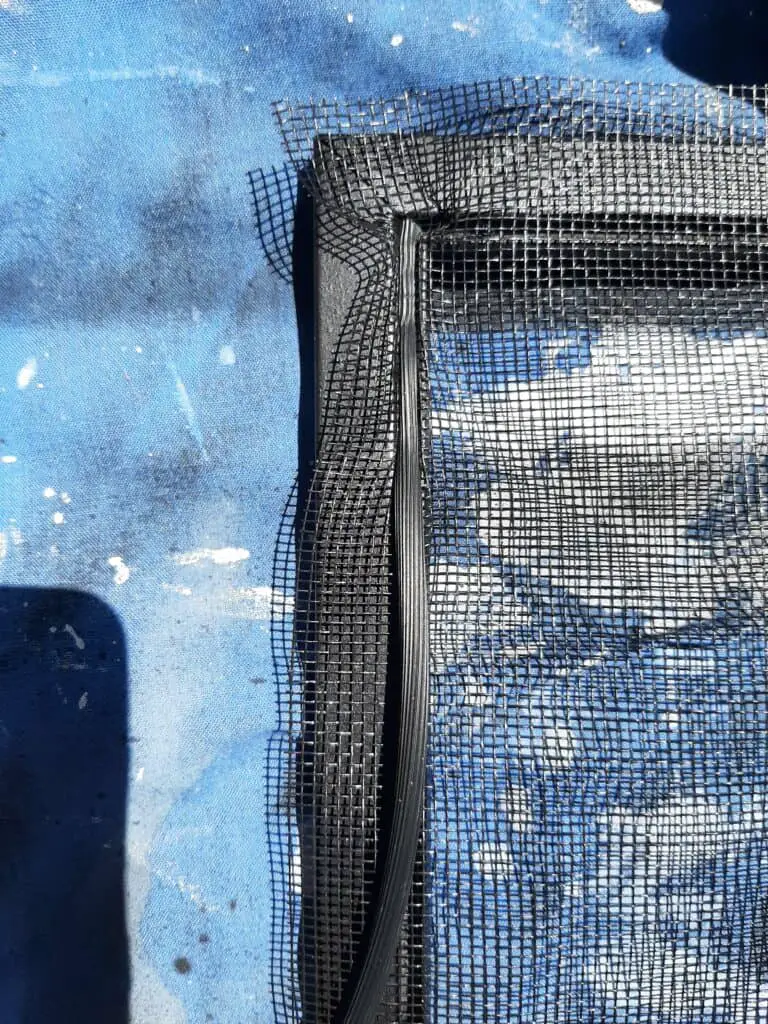
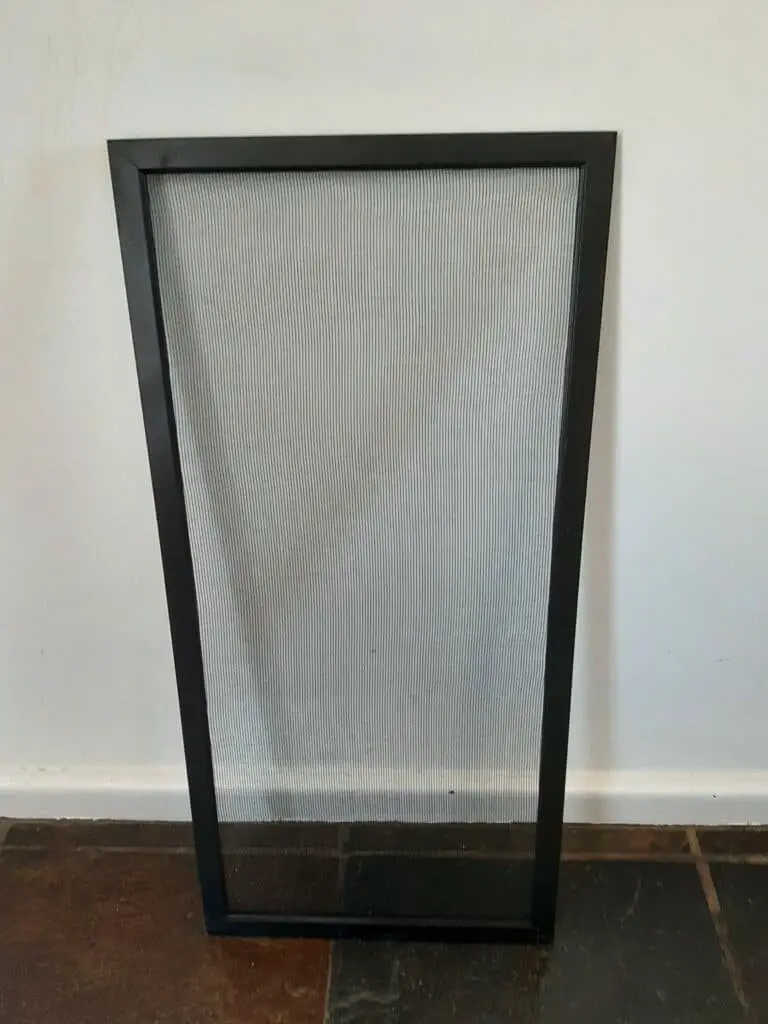
The weave of a flyscreen is a consideration as the closer the weave, the more the view is restricted. However, in coastal areas where midgies and sand are in the air, a closer weave may be great idea. 

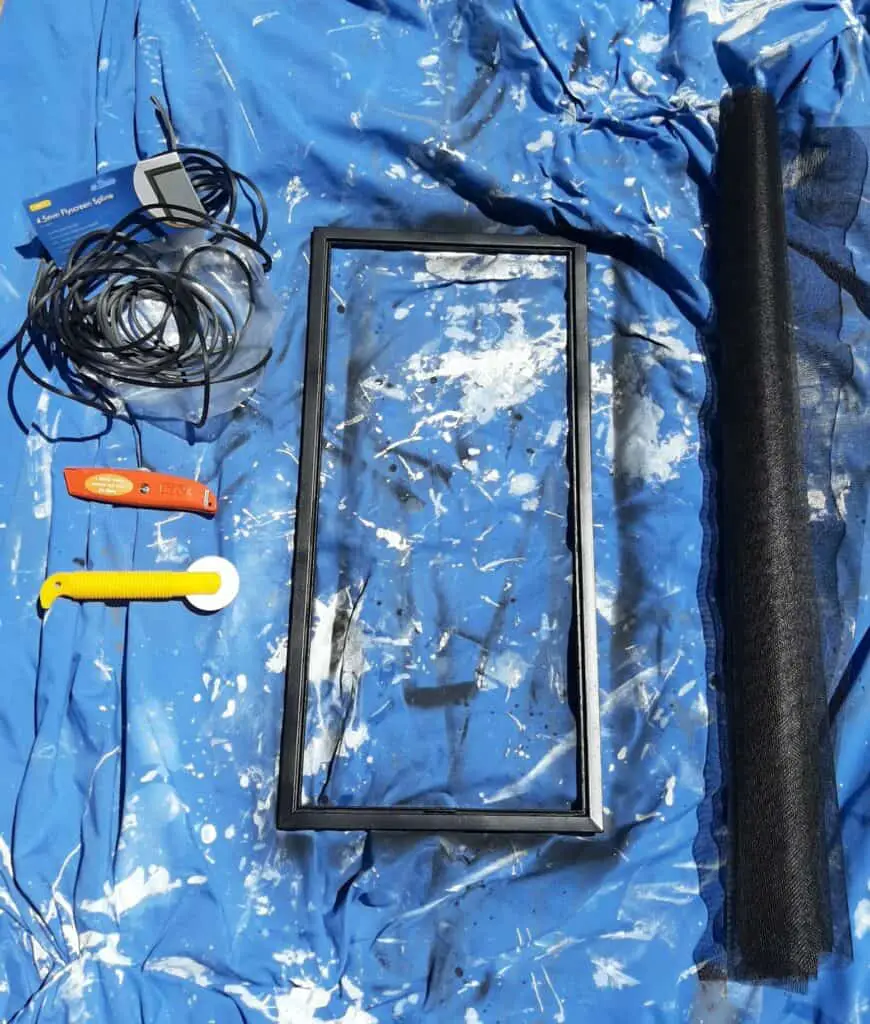
Make sure you get the right width and length. They usually come in rolls and you will need it to be slightly wider and longer than the frame. 

fly screen replacement tools
Collect the tools required including mesh, frame, spline, spline tool, scissors and utility knife

Step 2. Cut the mesh

Cut the mesh using scissors slightly wider than the frame by about 2-3cm / 1 inch all around. This will allow some wiggle room and when you press the mesh into the groove, it will allow it to pull nice and tight. 

Flyscreen replacement cut mesh slightly wider than frame
Cut the mesh slightly wider than the frame by 2-3cm / 1 inch.

Step 3 - Press the spline into the groove

Press the spline into the groove using the spline tool. I find it best to start in one corner and work my way around. Ensure the spline is nice and tight and it will pull the mesh in to place. 

Flyscreen replacement close up of spline
Start at one corner to push the spline into the groove.
Flyscreen replacement pressing mesh and spline into groove
Using the spline tool, work around the frame to push the spline and mesh into the frame.

Step 4 - Trim the mesh

Trim the excess mesh using the utility knife to get a neat finish. I have tried this with scissors but it is much easier to get a neat finish with a utility knife as you can get closer to the frame. 

Flyscreen replacement trimming mesh
Trim the mesh using a utility knife

Step 5 - Frame with new mesh complete

Once everything is trimmed and secure, the flyscreen is complete! It can now be fitted back in place in the window. 

Flyscreen replacement complete
Flyscreen complete - it can be fixed back into place in the window

You may also like...

Flyscreen replacement complete

DIY Home Decor Project: How to replace a fly screen

An easy DIY project, you can replace your fly screen in a...

Read More
2 bed granny flat Casula Sydney Cubbits

What is a granny flat and is it a good investment?

A granny flat is a self-contained unit located on the same block...

Read More
Curved sofas are a big trend for 2022. Curved white sofa in living room

Popular Interior Design Trends in 2022

2022 is all about cosiness, comfortability, and longevity. After the last few...

Read More
Coffee table books

Best Coffee Table Books

Coffee table books are the perfect way to add a little something...

Read More

Leave a Reply

Your email address will not be published. Required fields are marked *

15 − 2 =

Sign up to stay up-to-date & receive a $10 voucher (min. spend $50).