If you are looking to improve your façade or interior, a relatively quick and affordable way to do this is to paint your window frames. If you have aluminium window frames, the best way to do this is to use spray paint. Read on to find out how.
Can you paint over previously painted aluminium window frames?
Yes, you can paint over previously painted frames, but you need to ensure the surface is rough and that the new paint will stick to it. This can be achieved by using sandpaper to lightly sand the surface, a wire brush or an etch primer. The frames also need to be free of rust, loose paint, dust, and dirt to get the best, long-lasting finish.
Is it best to use spray paint or brush for aluminium window frames?
Whilst you can use a brush to apply the paint to aluminium windows, it is best to use a spray paint because these types of windows generally have lots of grooves and fiddly bits. Using spray paint also gives a smoother finish compared with using a brush.
Do you need to use a primer for aluminium window frames?
Although some spray paints say no primer is required, because aluminium is a non-porous material, paint does not stick to it well. It is always best to roughen up the surface before painting which can be done by lightly sanding with a wet or dry sandpaper or by using an etch primer. This will ensure the paint lasts longer and does not chip easily.
Do you need planning approval to paint windows?
In most cases you don’t need planning approval to paint your window frames, however, if your property is heritage listed, you will usually need approval to change the colour of the window frames. Check with your local council for more information before going ahead.
Cost to spray paint aluminium window frames?
I spray painted my window frames externally which included a 1500×900, 1500×1500, 600×600, 1200×900 window frame plus a 600×300 fly screen frame and a 1500x750mm fly screen frame using 1 can of Etch Primer and 2 cans of Dulux Metalshield Epoxy Shield in satin black.
1 can of 300ml spray paint is said to cover around 1.5m². As I was just doing the frames, the paint does go a long way. The total cost was $39.23. For less than $40, it was a very affordable way to update the windows and has made a big impact on the façade. Much cheaper than new windows.
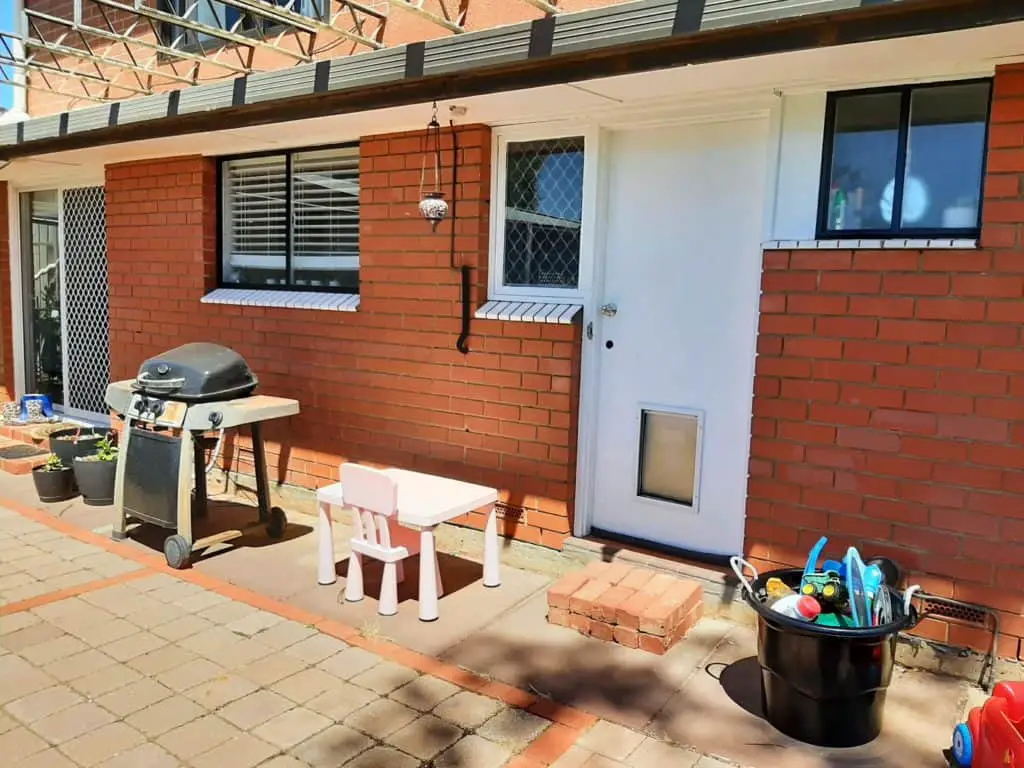
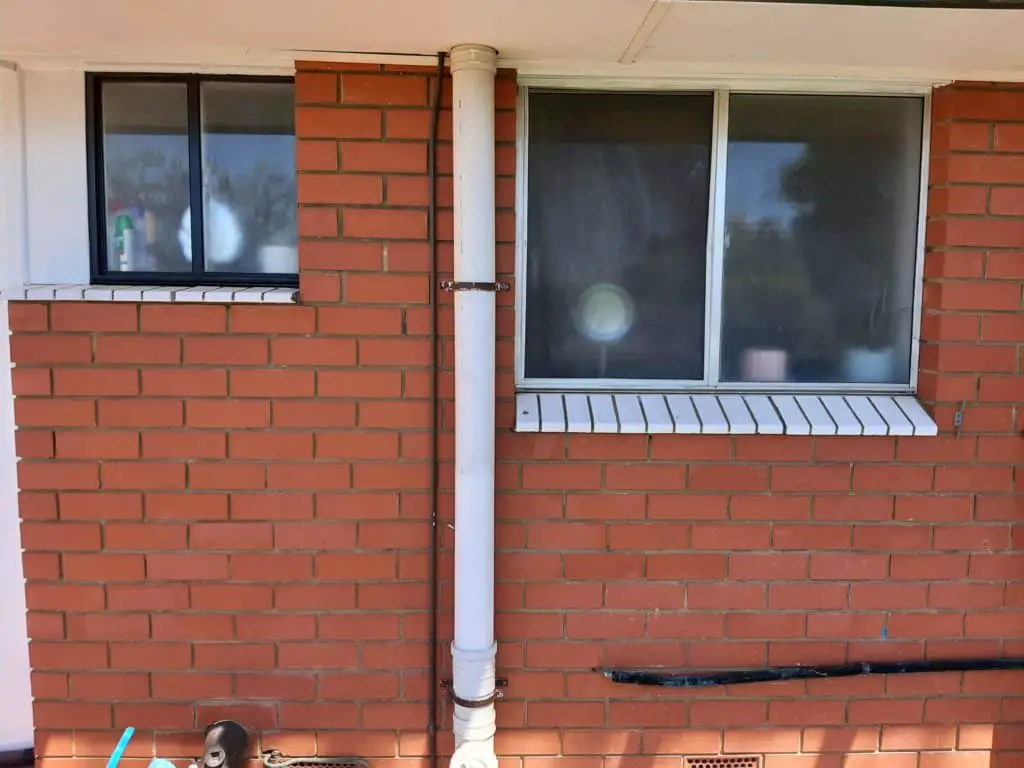
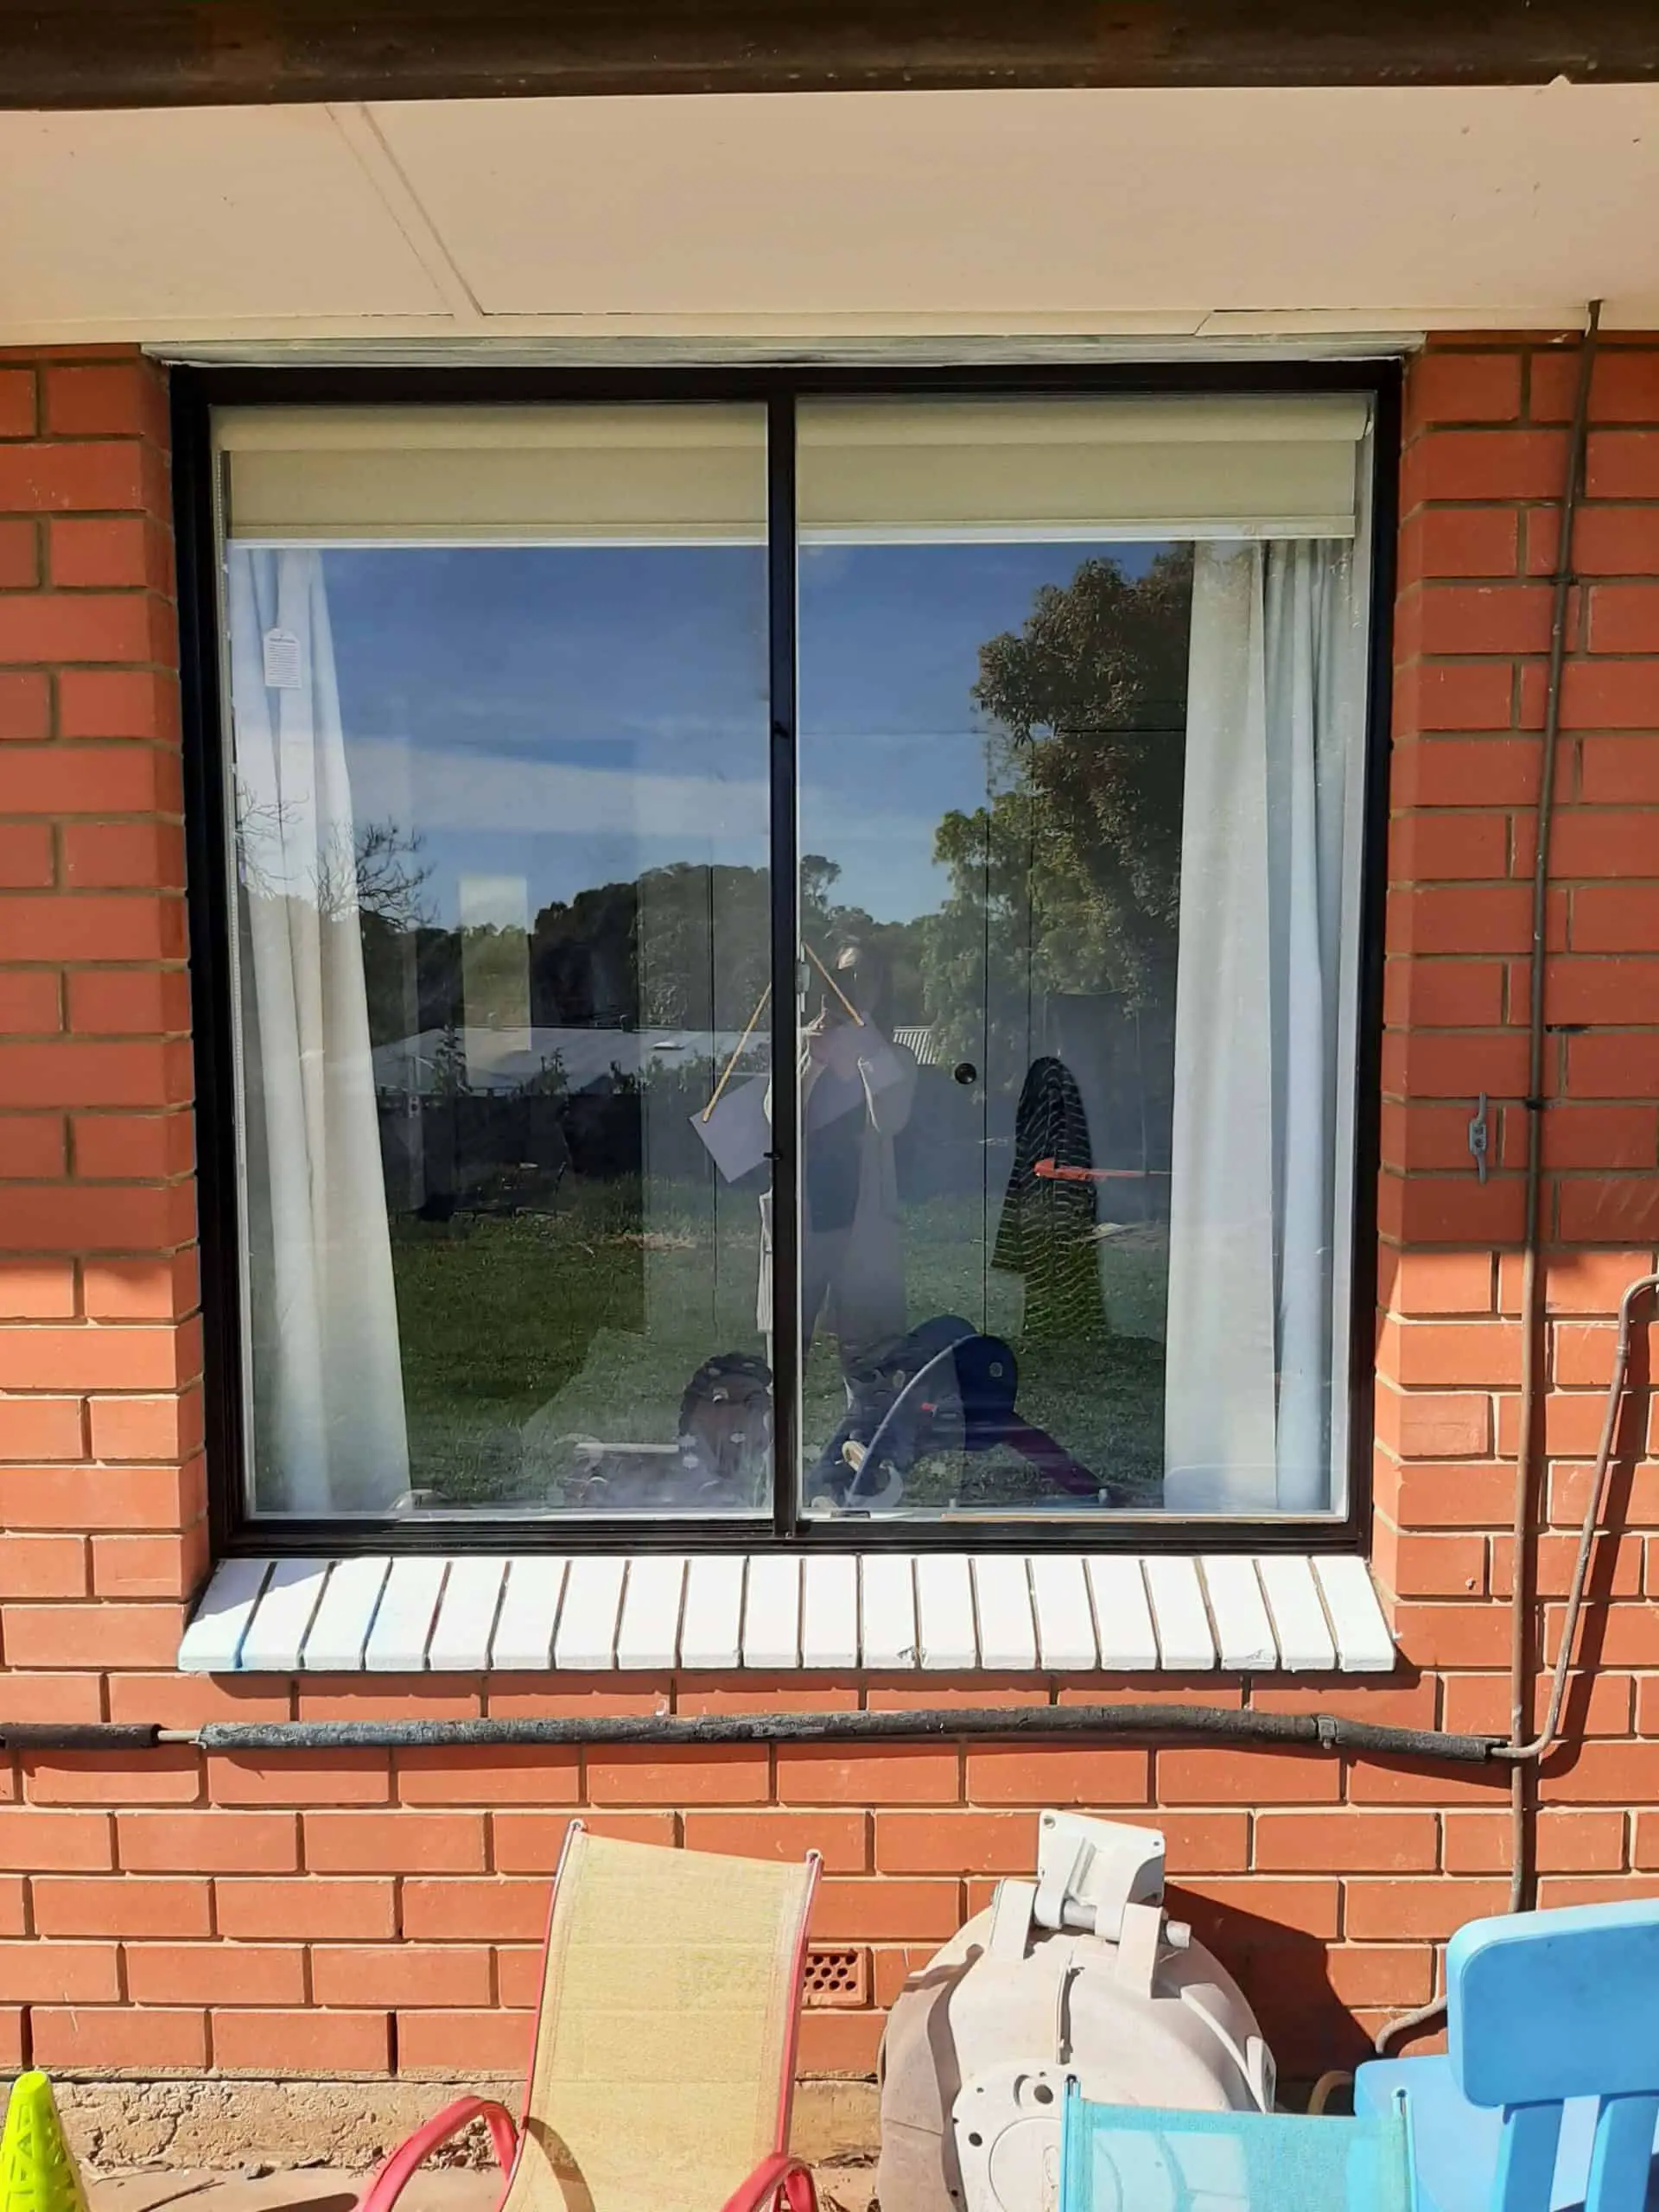
Painting aluminium frames before and after
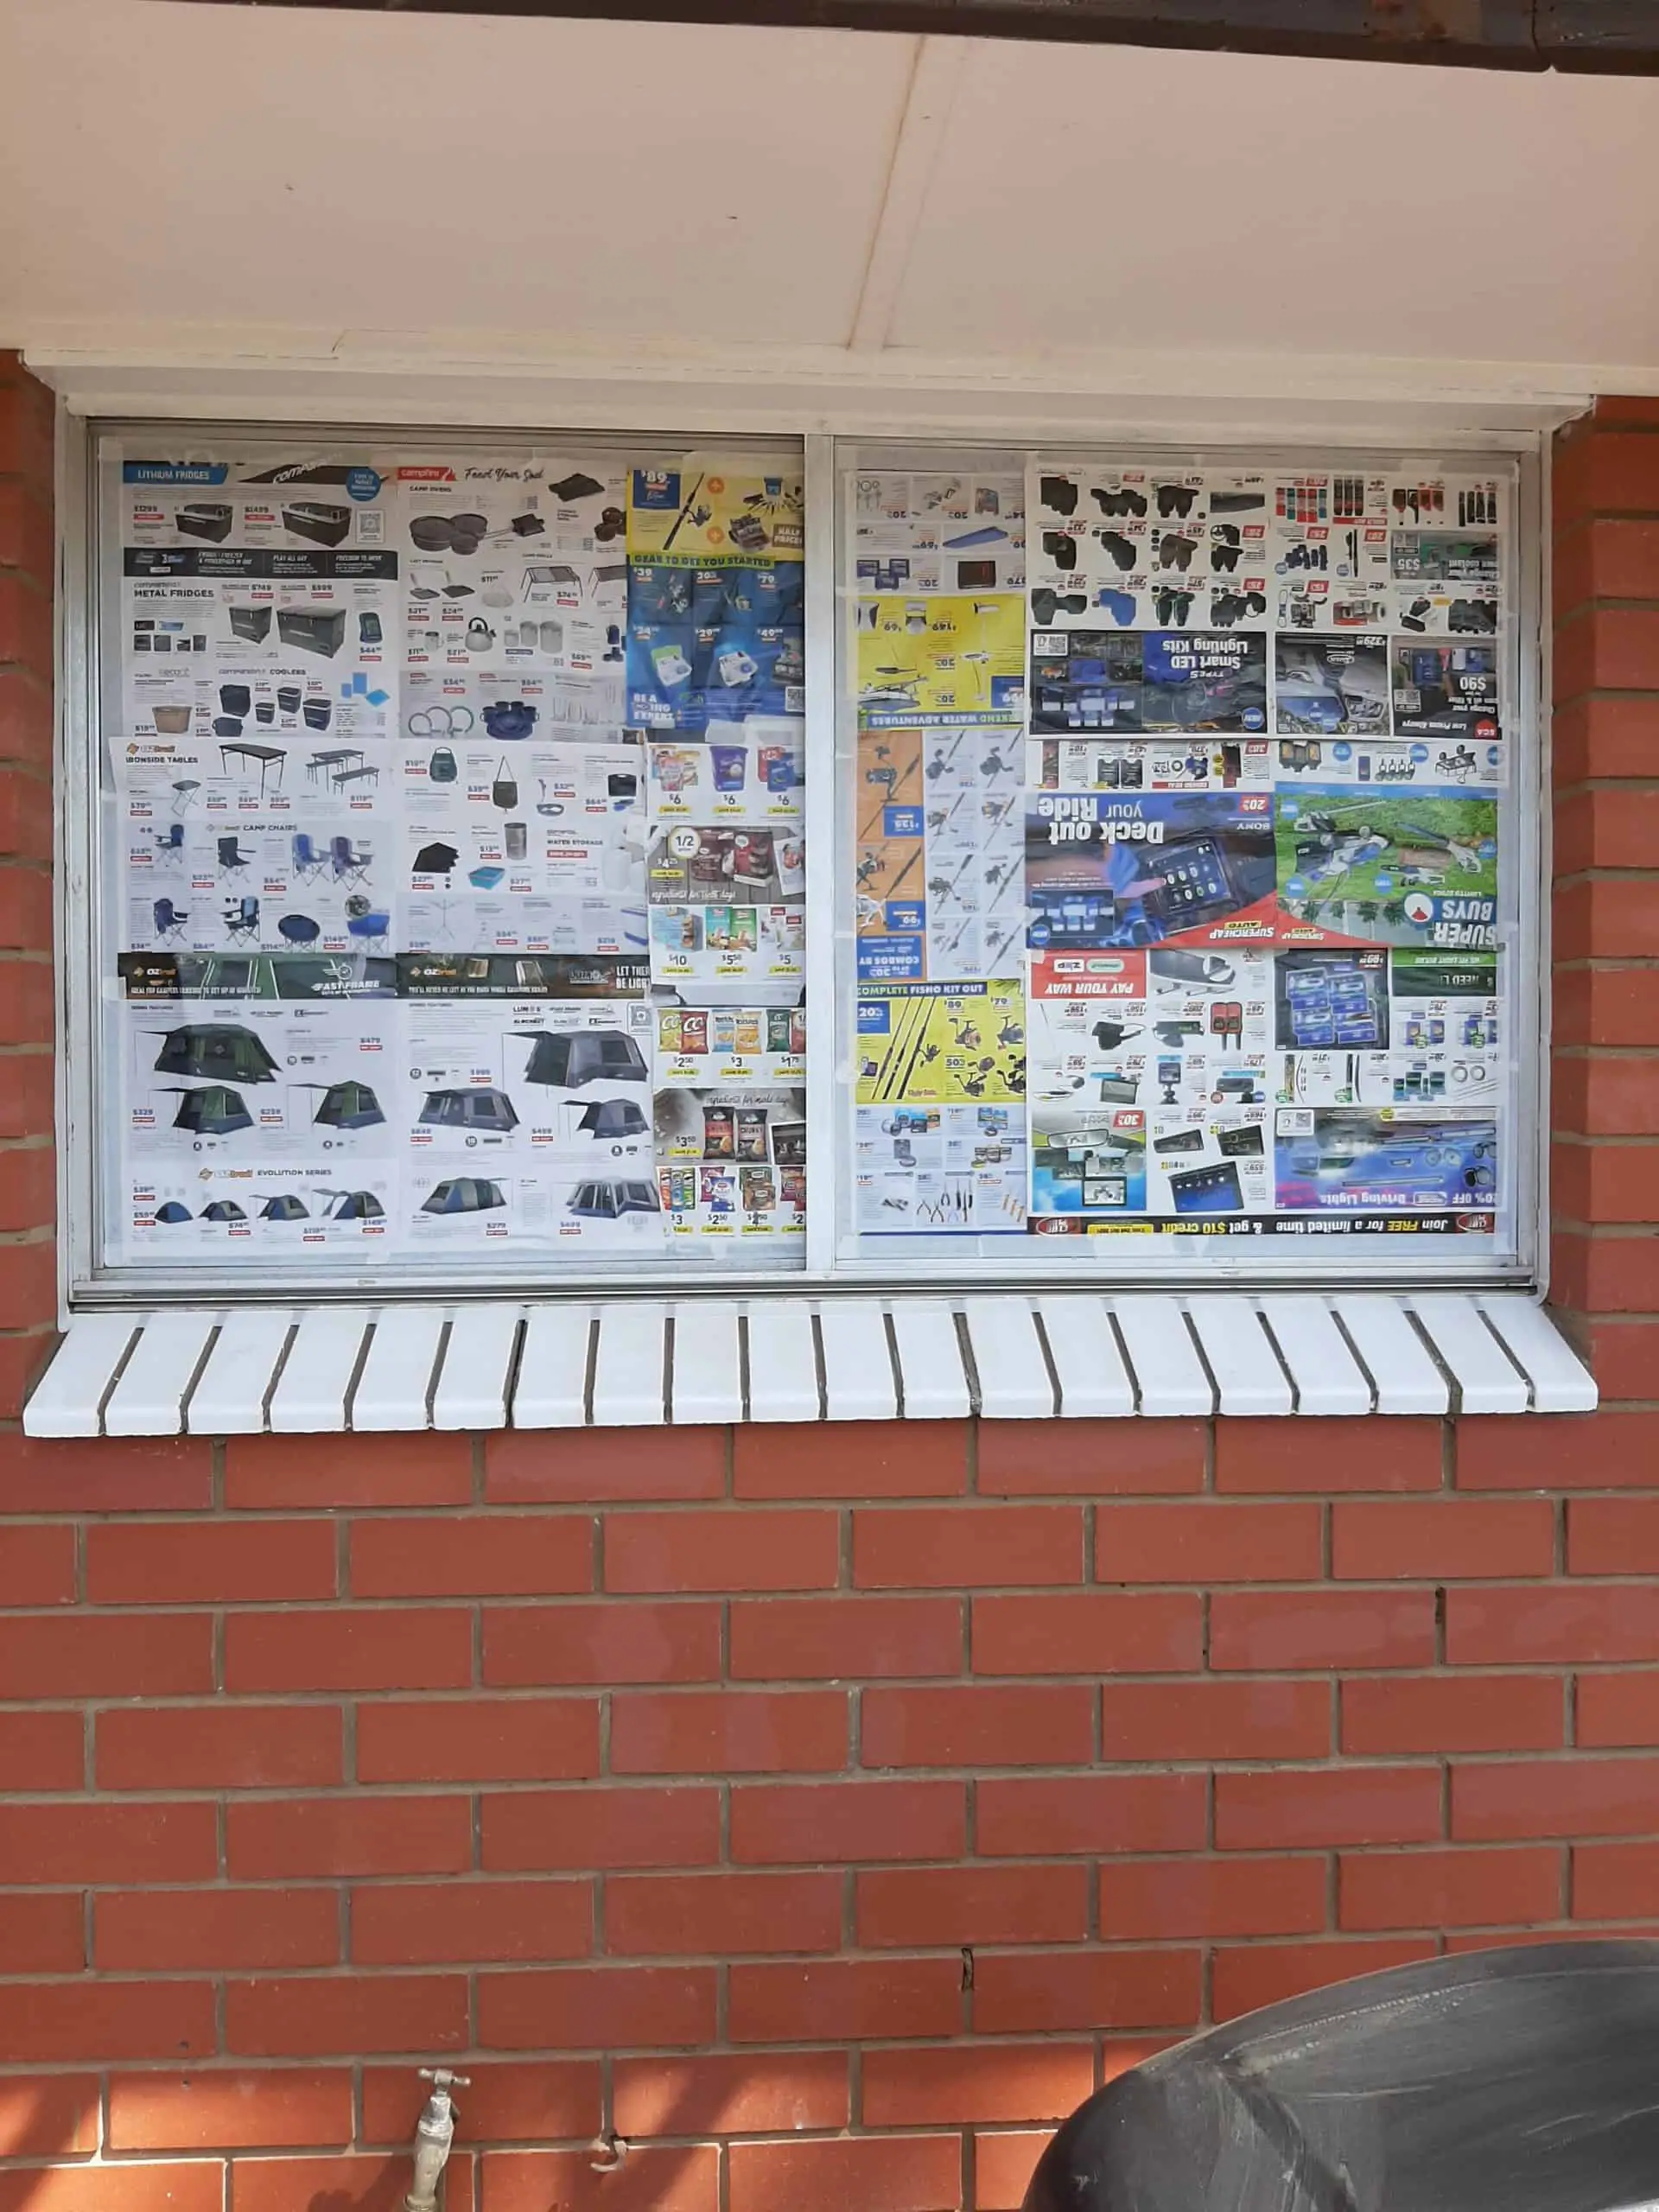
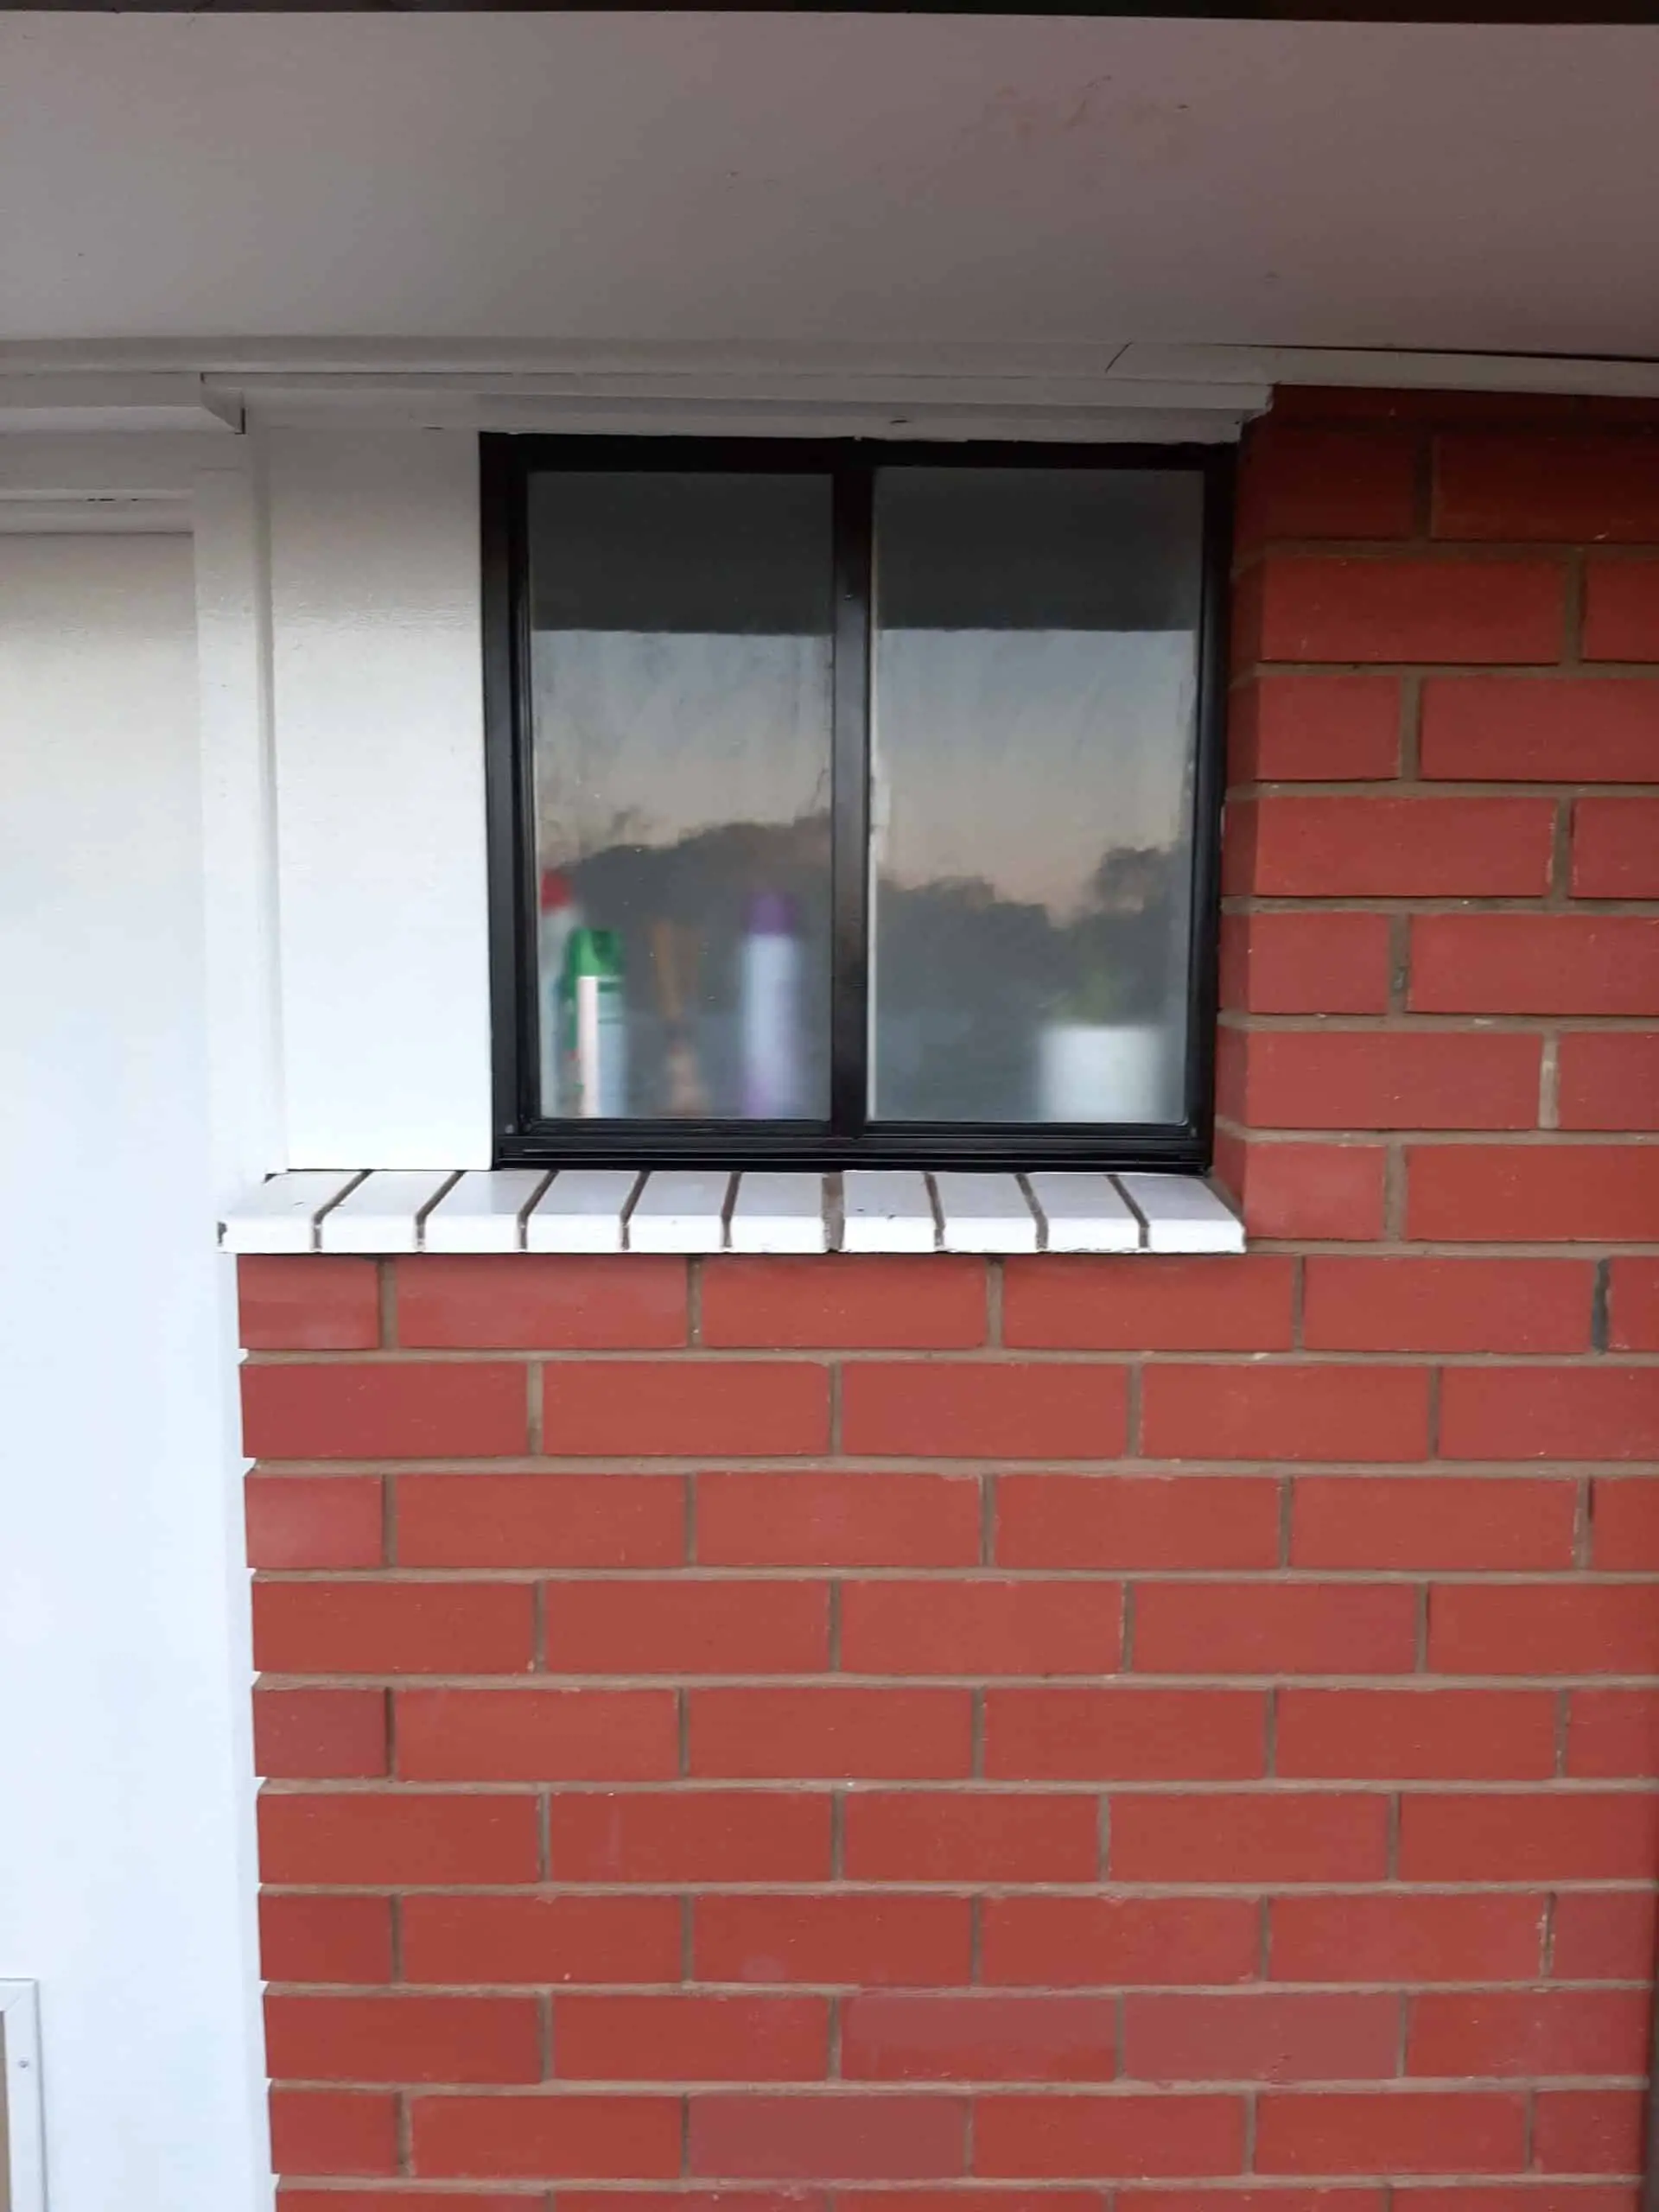
The windows on my 1970s house had very tired-looking plain aluminium frames. As part of my renovation, I painted the external frames on the back of my house satin black. Here is the before and after.



Step-by-Step Guide
Equipment:
- Ventilator mask
- Gloves (I used disposable gloves. You will thank me later).
- Old clothes (again…you’re welcome)
- Screwdriver (if necessary to remove fly screen)
- Stanley knife (to remove spleen in fly screen)
- Brush (to remove cobwebs and dust)
- Bucket of soapy water (I used sugar soap in my water, but dishwashing soap is fine)
- Cloth (for cleaning window frames)
- Sandpaper and/or wire brush
- Masking tape
- Dust sheets
- Old newspaper/junk mail/cardboard/plastic bags/plastic sheets to cover areas paint is not required.
- Etch primer (if required)
- Spray paint in desired colour. I used Dulux Metalshield Epoxy Shield in satin black.
Step 1 – Remove fly screen if you have one. You might need a screwdriver for this. Some lift out from the outside whilst others lift out from inside. We have a mixture of both.
Step 2 – clean window frame with a brush to remove cobwebs and dust then give them a good wash with soapy water. I used sugar soap, but regular dishwashing soap is fine.

Step 3 – if your frames are currently unpainted, I would recommend you give the frames a light sand using sandpaper or a wire brush to ensure the paint has something to grip to. You could also use an etch primer to achieve a similar effect. If your frames are currently painted (i.e. not bare aluminium like mine), it is a good idea to give them a light sand but no etch primer is necessary.
Step 4 – If using an etch primer, spray this on to the frames. Wait around 2 hours for this to completely dry or as directed on the bottle.
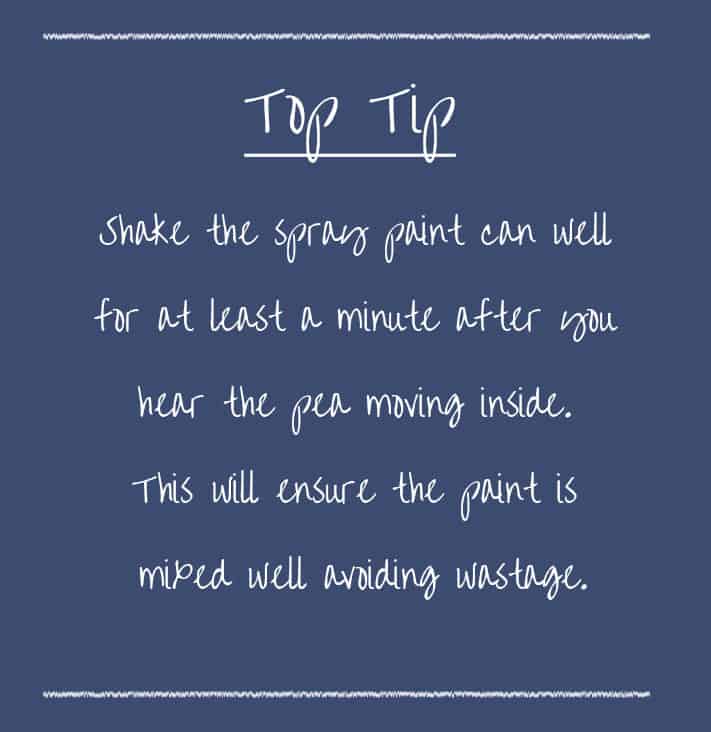
Step 5 – Spray the first coat of your spray paint on the frames. Keep the can moving to avoid drips and build up, spraying at around 30cm from the frame. Wait for the paint to dry (around 2 hours in 20-30 degree centigrade or as directed on the can).
Step 6 – Spray the second coat over the frames. Remove the tape and coverings whilst this layer is still wet which can help avoid the paint peeling off once dry.
Step 7 – To paint the fly screen, use a Stanley knife to remove the spleen and then remove mesh. Repeat the cleaning process in step 2 and then repeat each step. I laid my screen frame on the floor on top of an old sheet. I then used a large piece of cardboard to act as a shield for my legs!
Step 8 – Ta dah! You now have brand new looking windows.
Recent Blog Posts
Interior Design Trends in 2023
In interiors, 2023 brings earthy tones, textured walls, and classical decoration. Sustainability...
Read MoreDIY Home Decor Project: How to replace a fly screen
An easy DIY project, you can replace your fly screen in a...
Read MoreWhat is a granny flat and is it a good investment?
A granny flat is a self-contained unit located on the same block...
Read MorePopular Interior Design Trends in 2022
2022 is all about cosiness, comfortability, and longevity. After the last few...
Read More
