
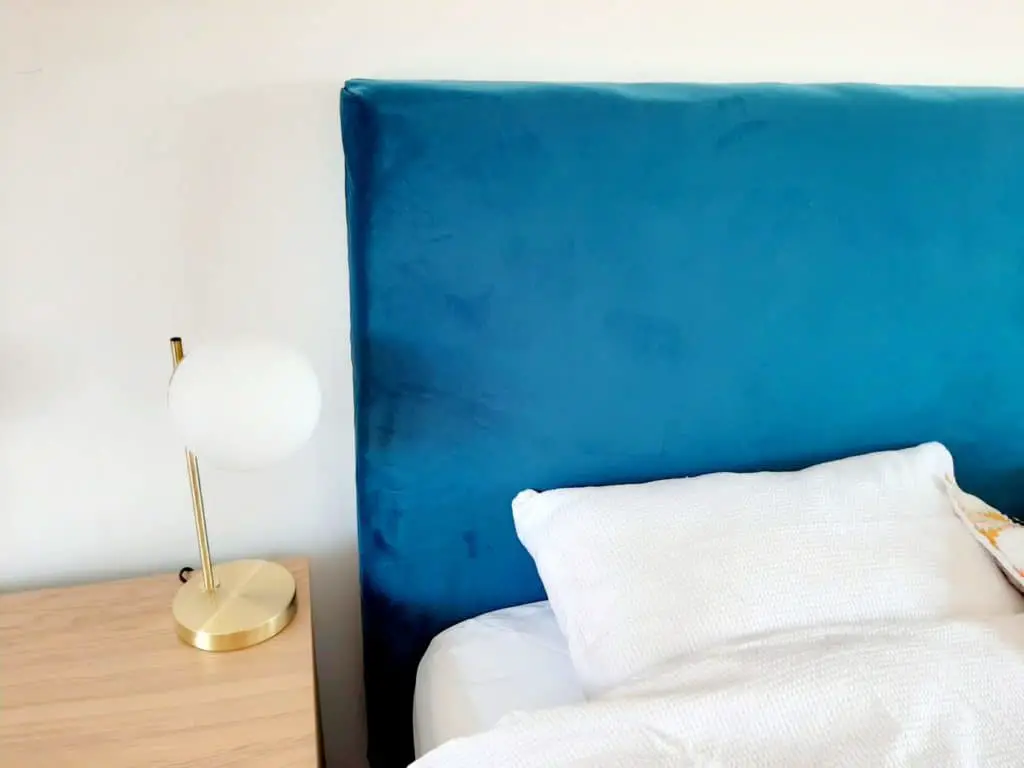
If you are looking for a stylish headboard for your bedroom then how about making one yourself. This DIY headboard is pretty simple to make and uses tools you most likely have around the house. The trickiest part for me was getting the MDF in the car!
Time
This project took around 3 hours to complete (including help from little people and figuring out how to neatly fold the corners).
Materials
- Upholstery Fabric
- Foam
- Wadding/Batting
- Staples & Staple gun
- Scissors (Fabric scissors preferable)
- MDF Board (or plywood) (I used 12mm, but you could go thicker. I would not recommend using thinner however as it may bend too much)
- Timber for supports (two pieces of 100mm wide x 50mm deep x 1m long)
- Screws (size depends on the thickness of foam and MDF. I used 65mm screws)
- Drill & Drill bit
- Spray adhesive
- Pencil
- Saw (if not getting timber/MDF cut to size in store)
Step-by-Step Process
Step 1
Measure your bed base. My king-size bed base was 1.83m wide and 40cm high. This then determined how long I needed the timber supports to be and how wide and tall the MDF board needs to be. I wanted the headboard to start where the bed base ends so it covered the mattress and so the timber supports can not be seen from the front.
Step 2
Cut the MDF board and wood to size. I got Bunnings to do this for me when I purchased the wood. King size headboard dimensions in Australia are 1.83m wide and so I had the MDF board cut to 1m tall as I was using wooden legs for under the bed base. You could use plywood but I found MDF to be cheaper.
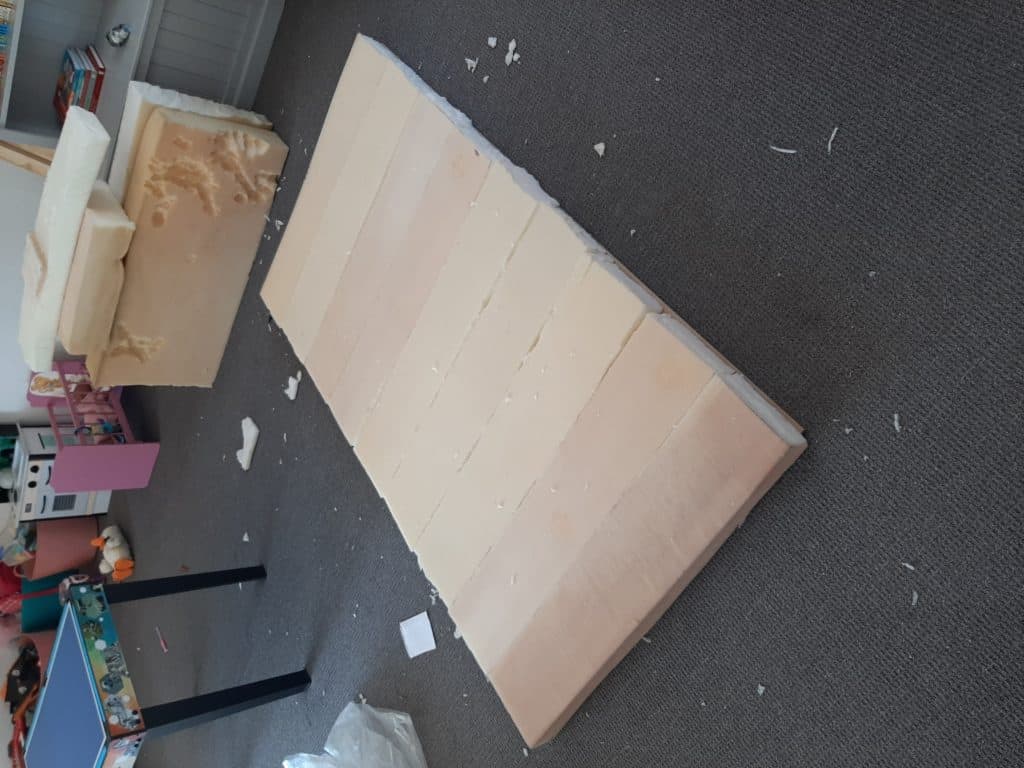
Step 3
Lay the MDF board down and put the foam on top. If necessary trim the foam to size. I managed to score a queen-size foam mattress which I cut in half and into strips. Place the foam in the correct position and then use spray adhesive to stick it to the MDF board. I stuck the pieces of foam which I had cut in strips individually so in the future I could use thread to create vertical lines if I want a change.
Step 4
Spread the wadding over the foam ensuring there is enough to be folded over the back and stapled. Around 2-3inches excess should be OK.
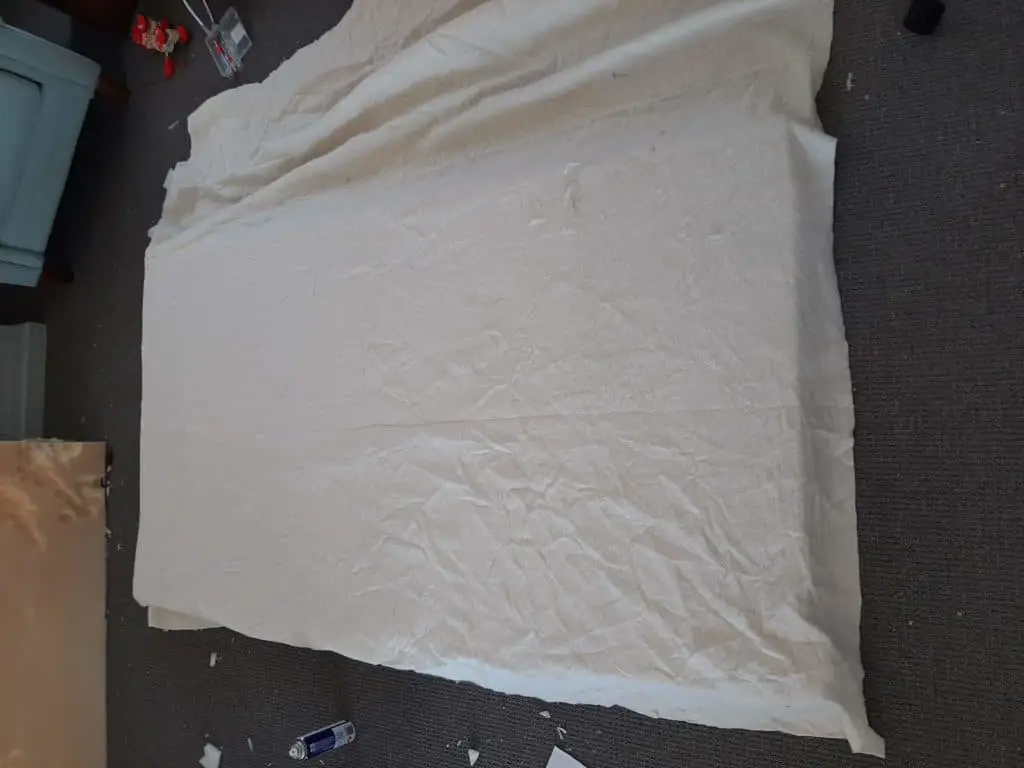
Step 5
Pull the wadding tight and staple it to the MDF board. Start in the centre on each side and work your way to the corners.

Step 6
Lay the fabric, front face down. I used velvet upholstery fabric from Spotlight. Carefully lift the MDF board with foam and wadding attached (this is a two-person job). Place it on top of the fabric in the centre. Trim the fabric using fabric scissors (ideally but normal scissors are OK. Fabric scissors will help to stop fraying). Leave enough fabric overhang so that it can be pulled tight and stapled to the MDF board.
Step 7
Next, staple the fabric to the board. Make sure you pull it tight and start in the centre of each side. Leave the corners for the next step.
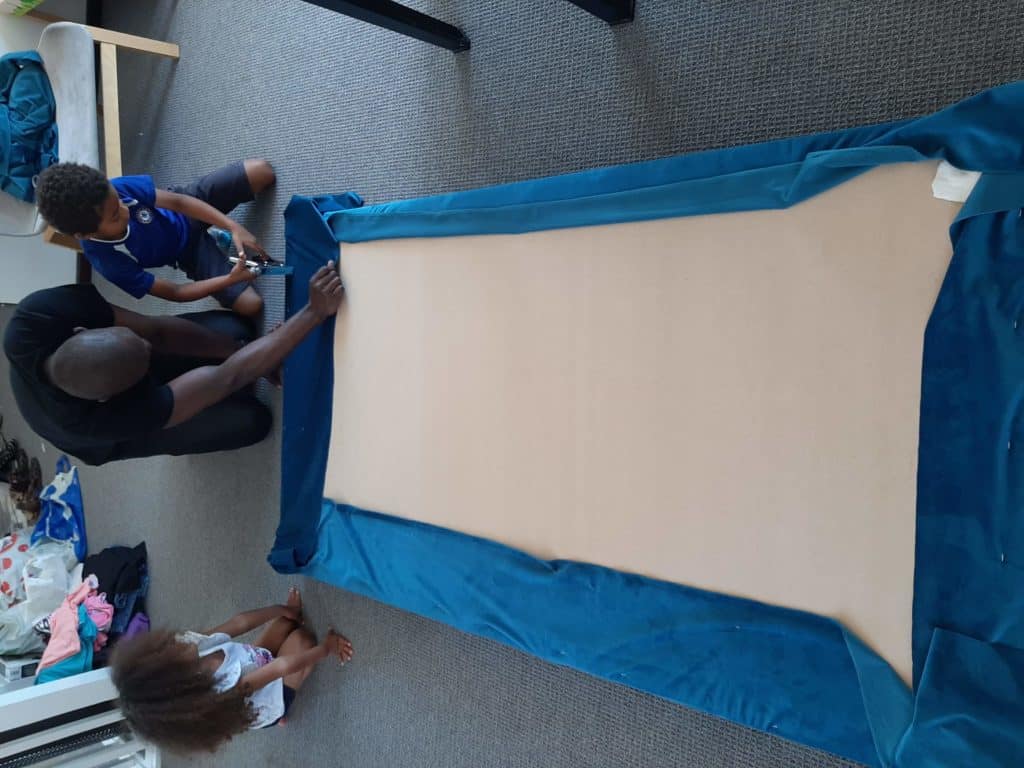
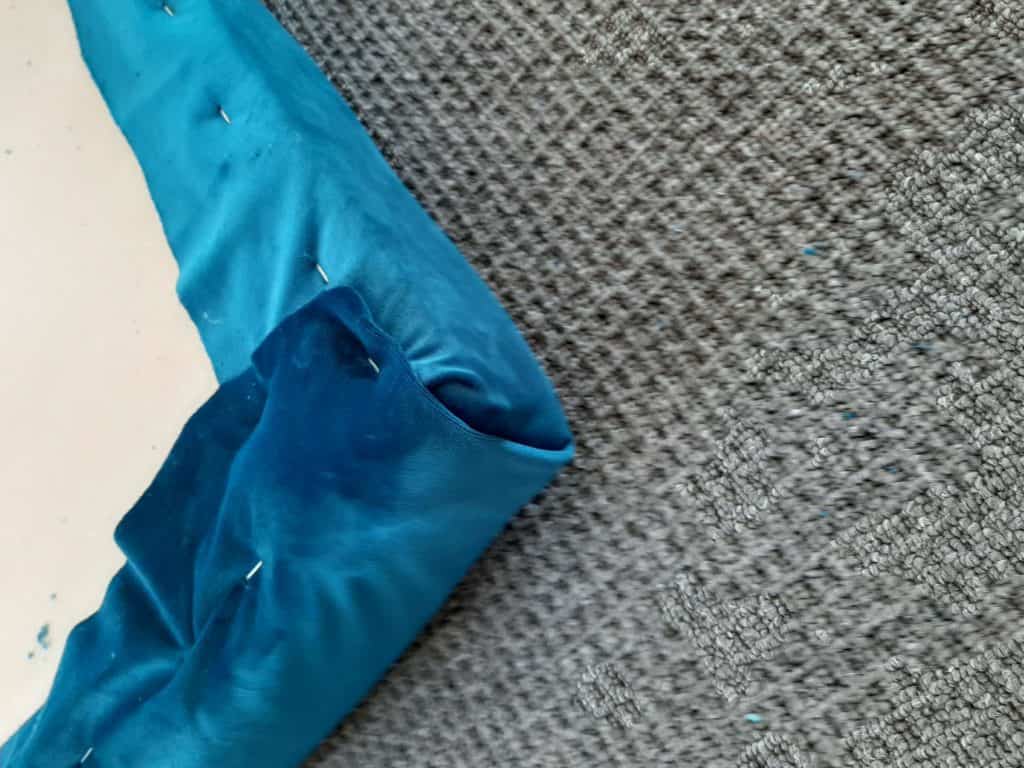
Step 8
For the corners, trim some of the fabric for a neater fold. Videos such as this – How to upholster a chair seat and create smooth corners can help with how to fold a neat corner.
Step 9
Place the wooden posts in position making sure there is enough post exposed to support the headboard beneath the bed frame. Ideally there should be around 1/3rd exposed and 2/3rds attached to the board for support as the timber posts will be supporting quite a lot of weight. Using a pencil, mark where the screw holes will go and drill through the wooden post and into the MDF (be careful not to go through the fabric!).

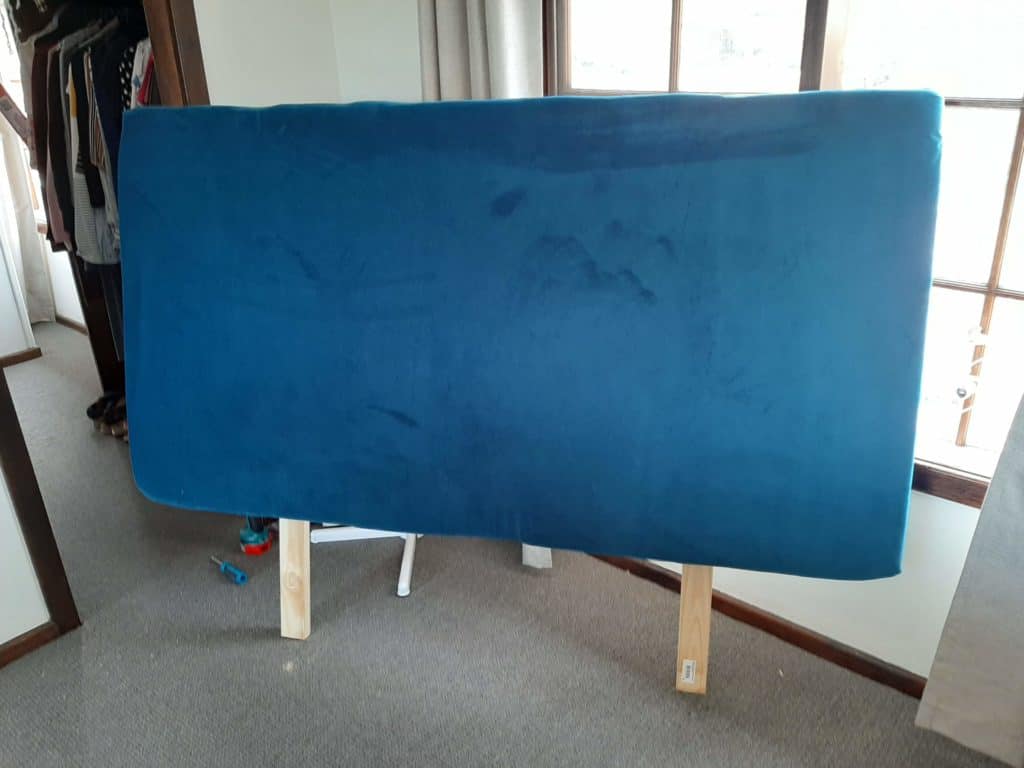
Step 10
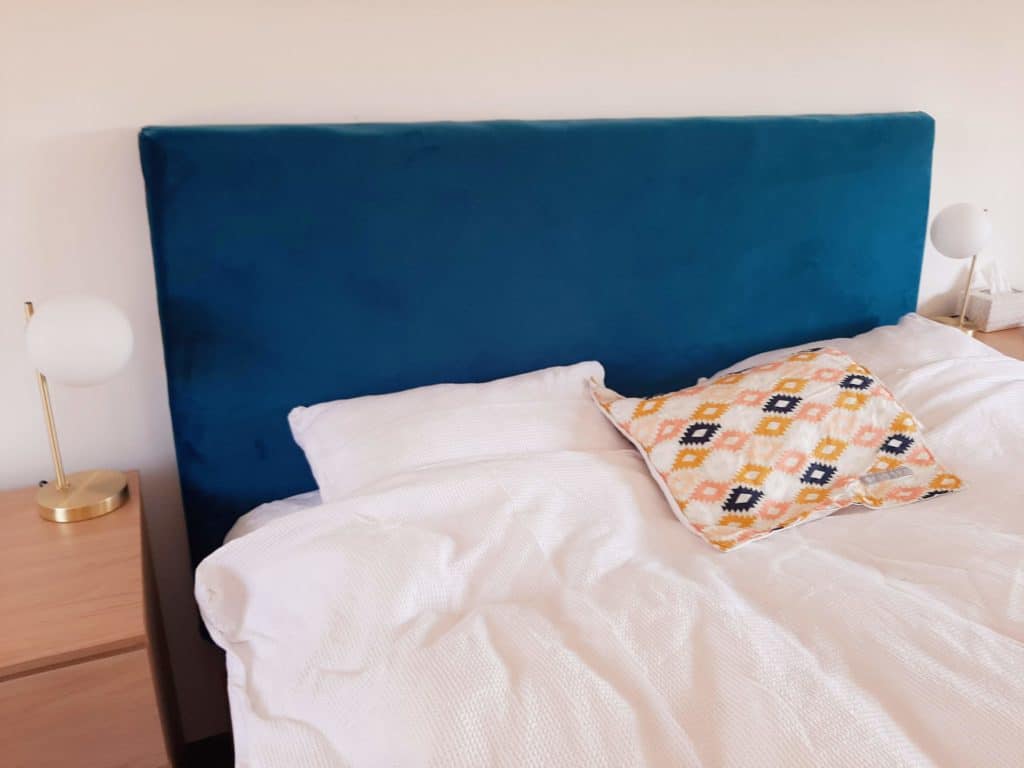
Screw the wooden posts to the board and carefully stand the headboard up. Ta-dah! You made a headboard. It can be stood against a wall behind the bed.
Other DIY headboards to swoon over
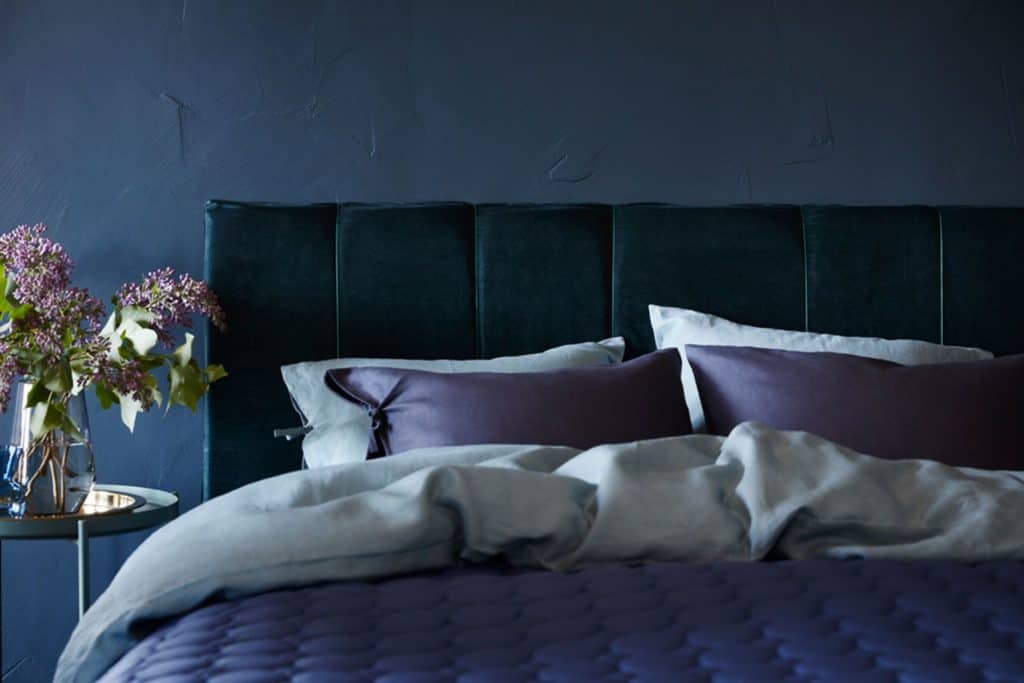
DIY IKEA Malm Headboard Hack: This gorgeous teal velvet bedhead is made using a MALM bedhead and covered in foam and a velvet curtain. The stripes are created by cutting the foam in strips before covering in the velvet fabric. Thread is then run from the bottom to the top and stapled in place to delineate the lines.
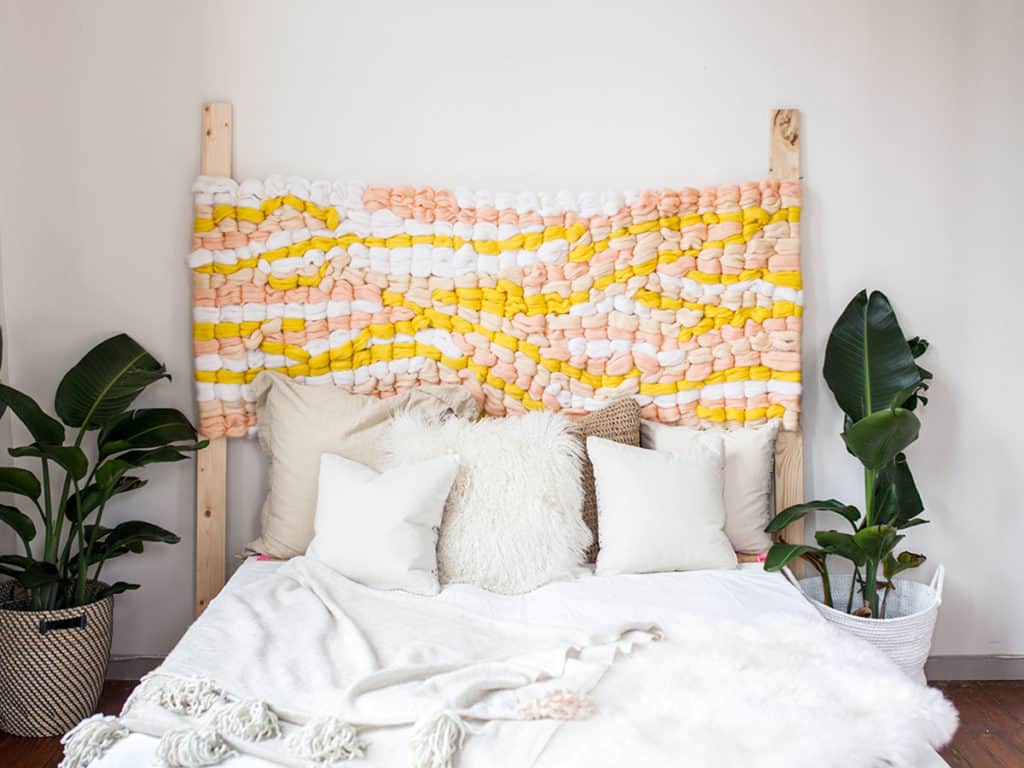
DIY Woven Headboard: Made from chunky merino wool, this DIY woven headboard is easy even for beginners. The forgiving nature of the chunky wool and freestyle pattern makes this headboard a great starter project for any textile lover.
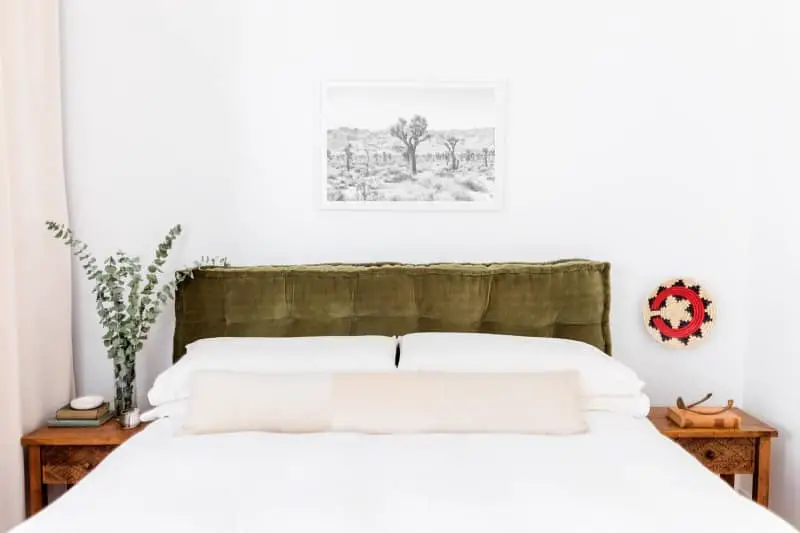
DIY Cushion Bedhead: In this Brooklyn apartment, a daybed cushion from Urban Outfitters has been attached to the wall to create a soft bedhead.
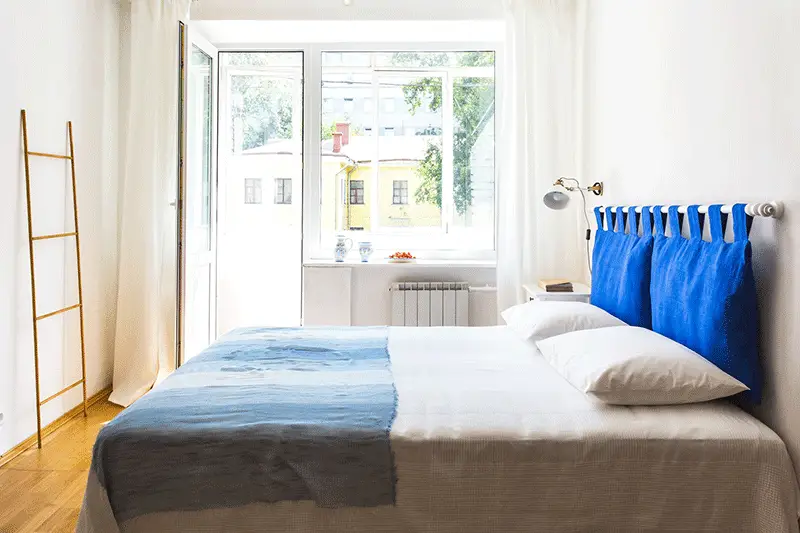
DIY Hanging cushion on curtain pole headboard: This Moscow apartment headboard has been created using fabric and a curtain pole. The great thing about this is that you can choose any fabric you want to match your scheme and they are washable. Bonus!
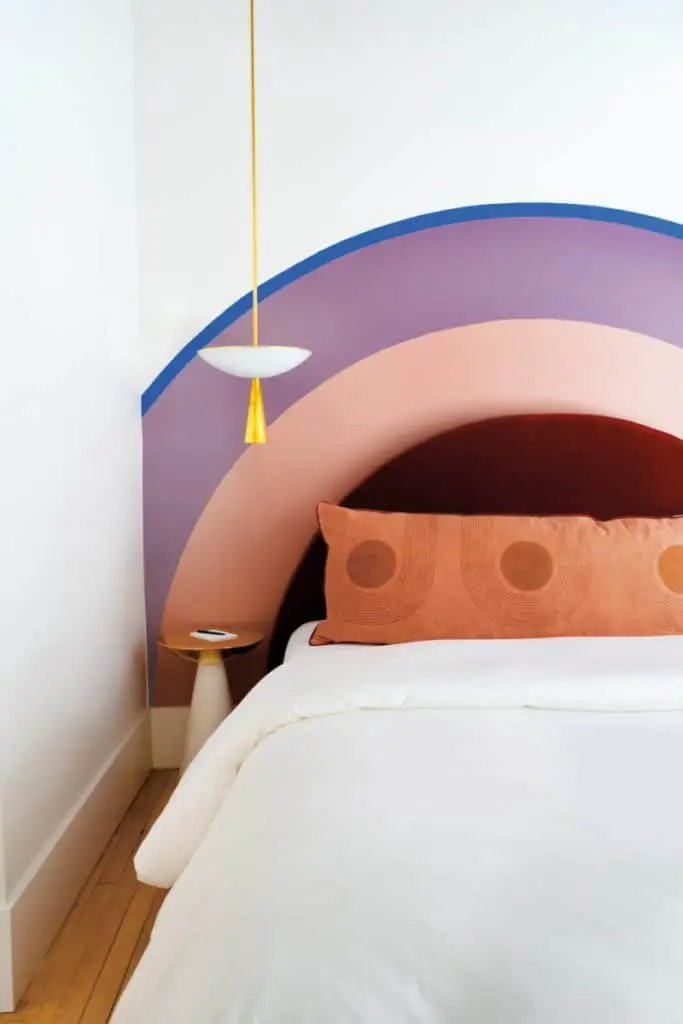
DIY Painted headboard: This fun pattern has been painted on the wall to frame the bed at the Firehouse Hotel in Los Angeles. The rainbow effect creates a playful design which can be customized for any colour scheme.
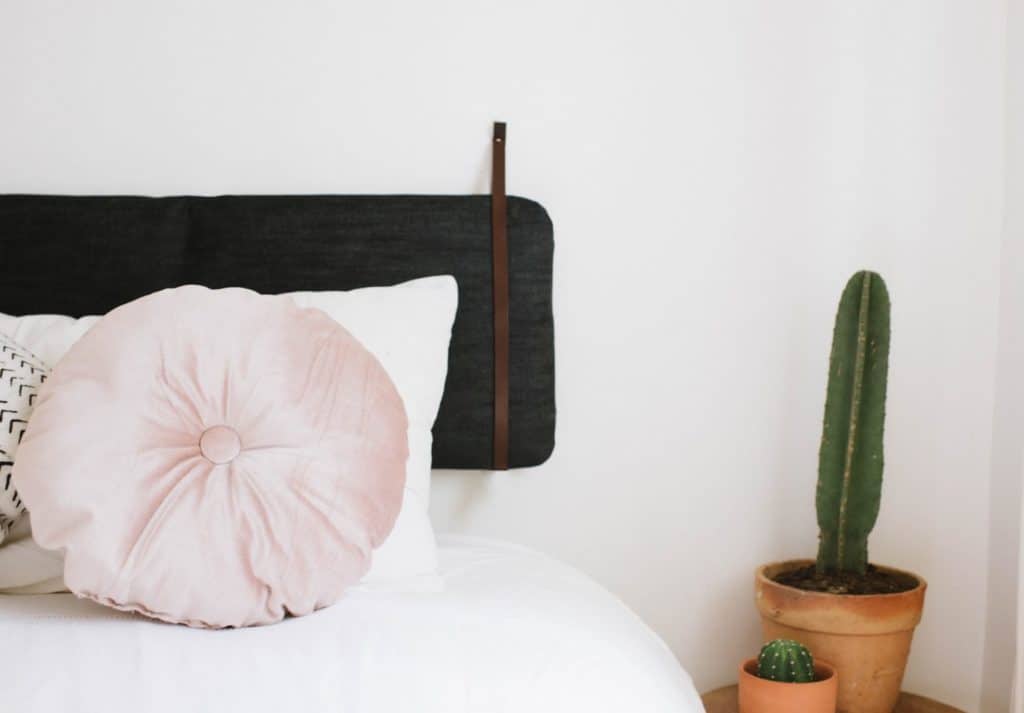
DIY IKEA Cushion hack hanging headboard: This easy DIY hanging cushion headboard uses a seat cushion from IKEA wrapped in a denim fabric with leather straps. It is super easy and requires no sewing.
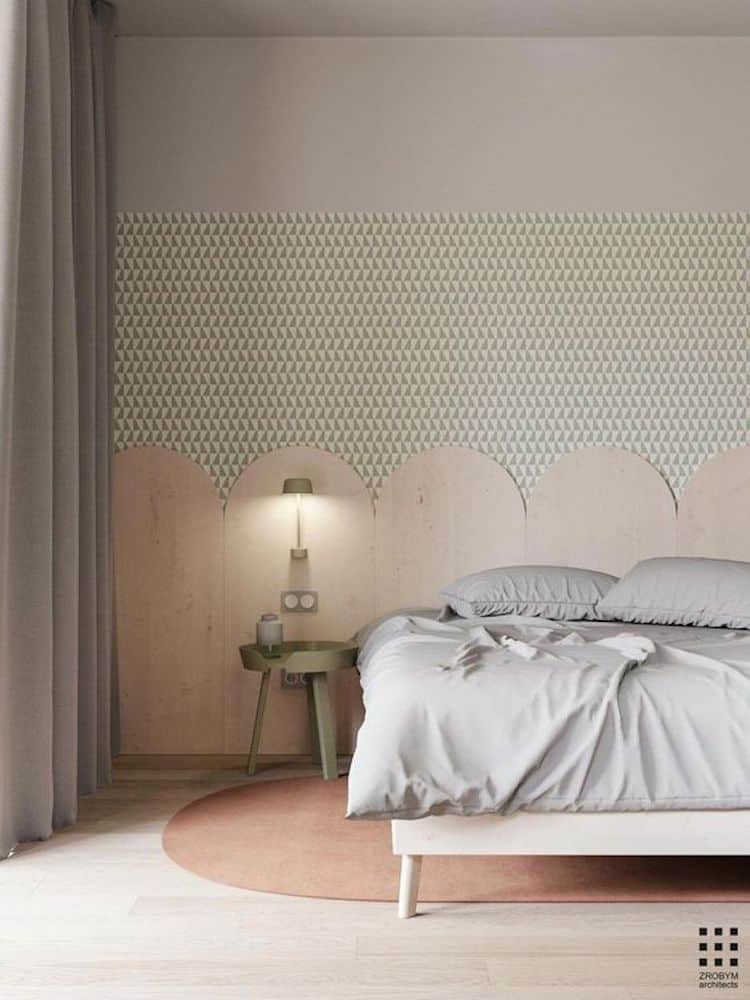
DIY scalloped timber headboard: This scalloped timber headboard can be recreate using MDF or plywood. It allows sockets and light fittings to be easily cut out and makes a real feature out of the bed.