Chair Upcycle - Before and After Photos
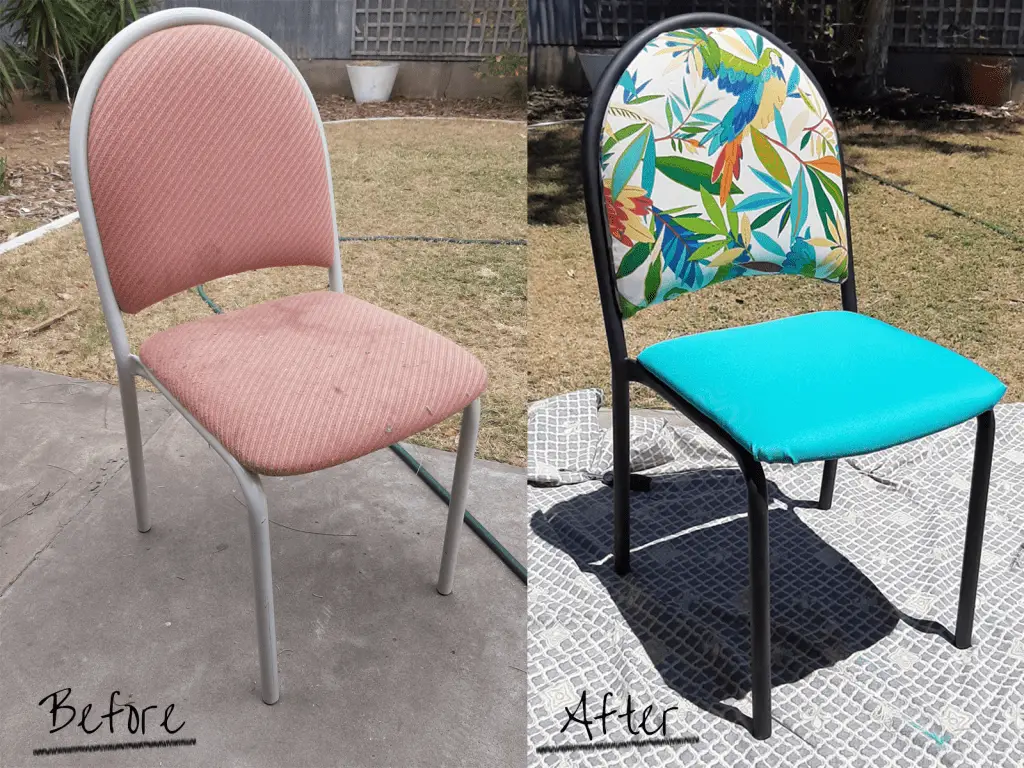
I am always thinking of what furniture I can upcycle next. This weekend I decided to upcycle a set of chairs we were given when we first moved to Australia. There was nothing wrong with the structure of the chairs, only the 80’s grey frame and salmon pink fabric had definitely seen better days (yuk).
Materials and tools required for Chair Upcycle
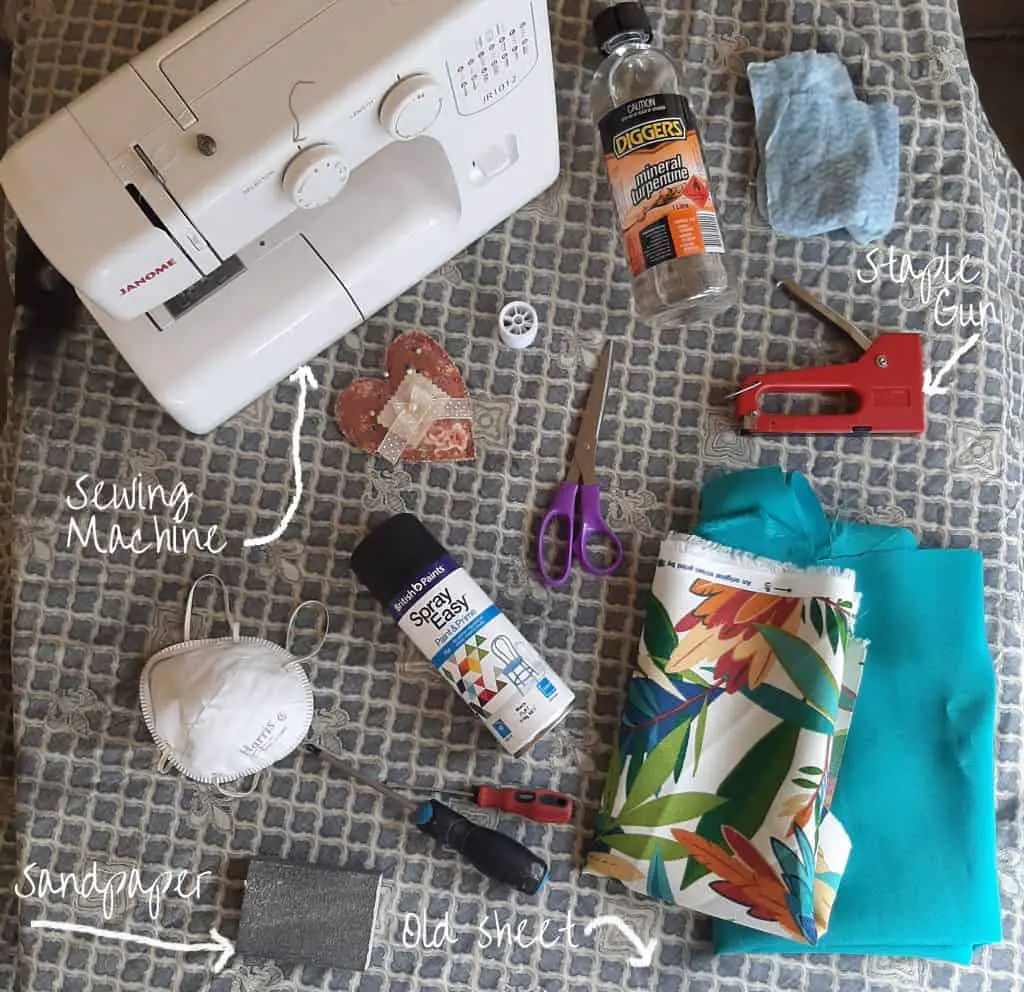
For this project I used:
- Fabric (outdoor fabric as this set was going to be for outdoors)
- Sewing machine
- Straight pins (to hold fabric together whilst sewing)
- Thread (colour to match fabric)
- Pencil or chalk (to mark out fabric)
- Spray paint (suitable for metal and outdoor use)
- Sandpaper (fine 240grit)
- Dishcloth and turps (for removing dust after sanding)
- Screwdriver (to remove seat pads and back rest)
- Staple Gun
- Face mask (to protect from dust and paint fumes)
- Old sheet (to rest chair on whilst spray painting)
How to recycle an old chair - Step-by-step DIY guide
Step 1
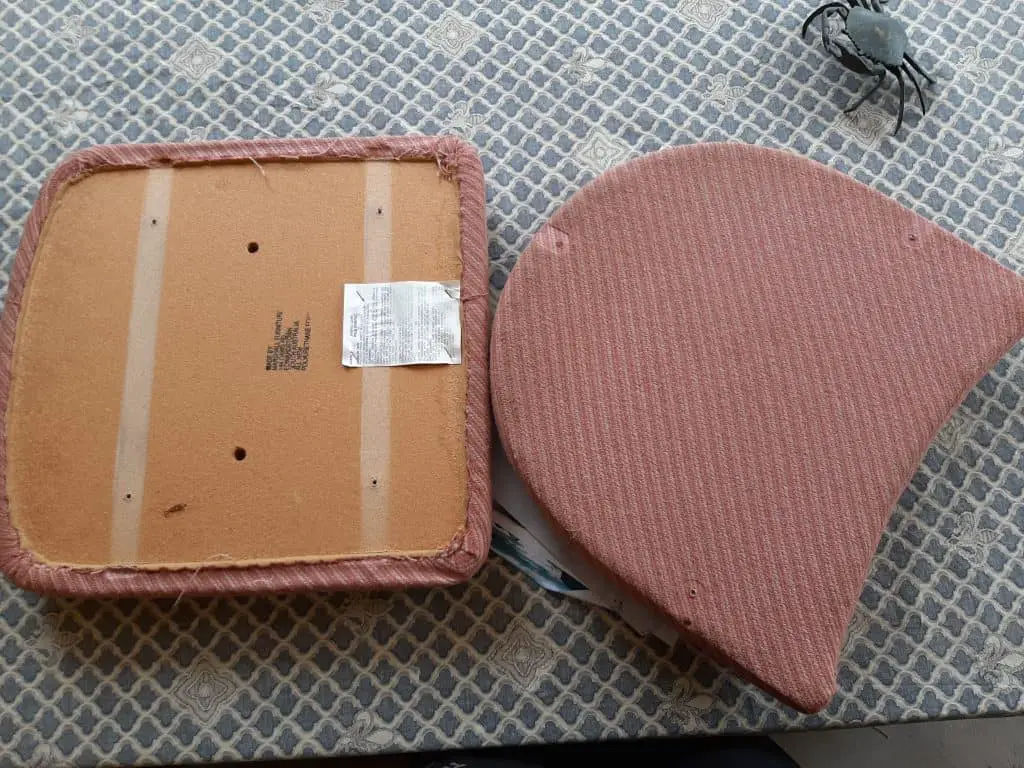
I removed the seat pads and back rests from each seat using the screwdriver. Make sure you keep these somewhere safe as you don’t want to lose them. I keep screws in a jiffy bag for safe keeping.
Step 2
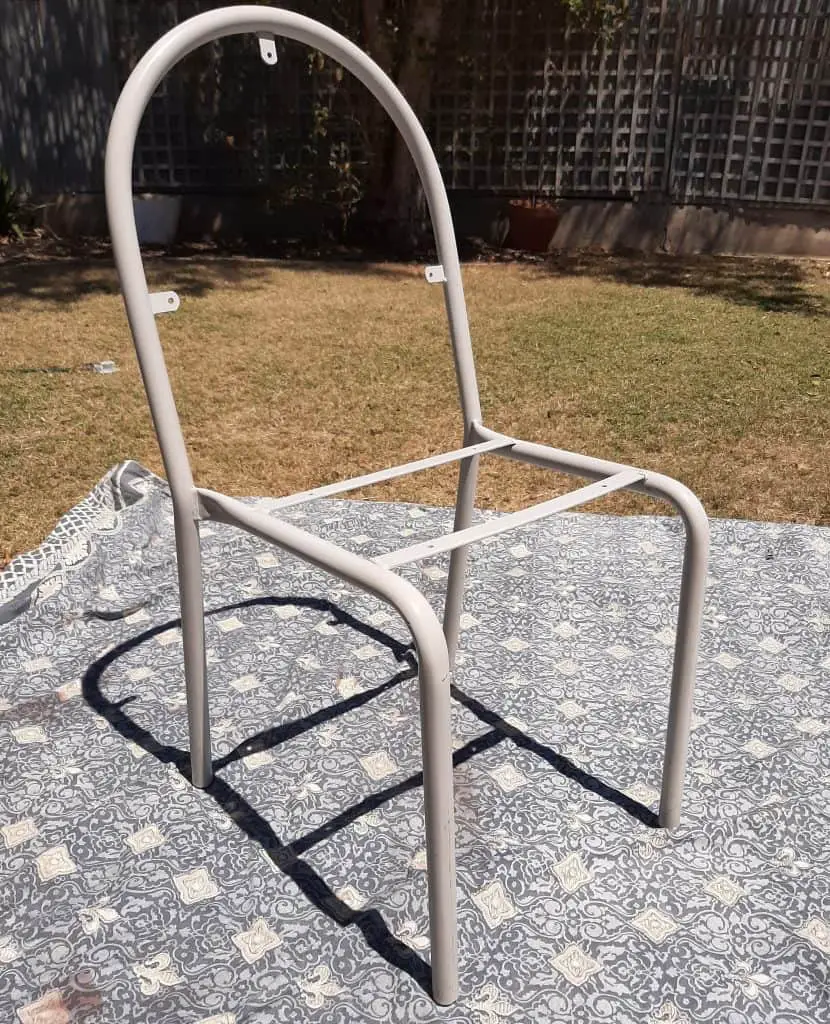
I sanded the chair frames to remove dirt, rust and to get the surface ready for the paint. I then made sure I wiped all the dust away using the dish cloth and a small amount of turpentine.
Step 3
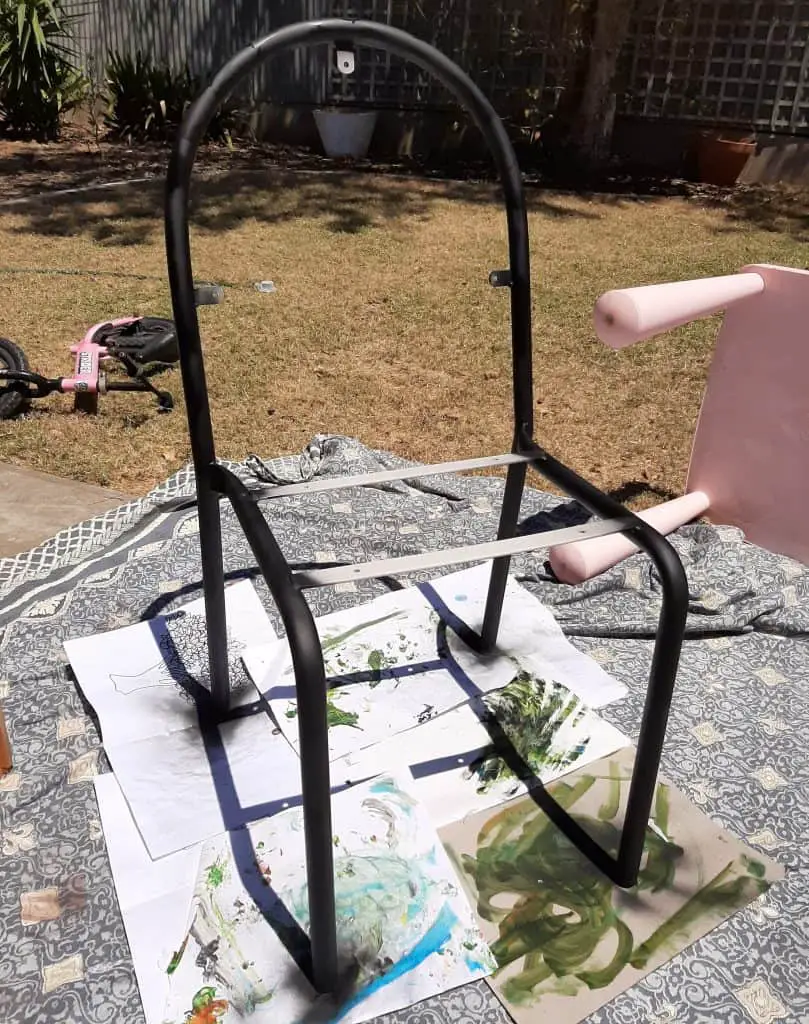
Once the surfaces were clean and dust free, I spray painted the frames. I chose a flat black (matte) as I thought this would complement my fabric and I also had it left over from my other project [desk upcycle]. This took two coats leaving around an hour in between. Once finished, I left the frame to dry for a few hours
Step 4
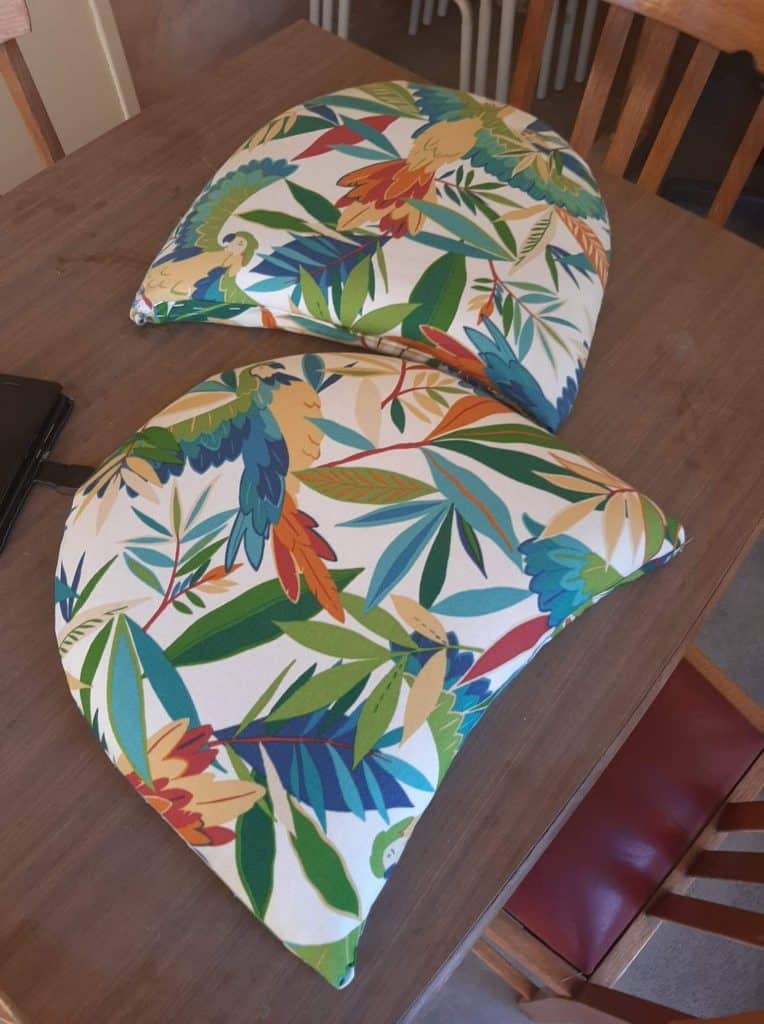
With the back rests detached, I traced around them onto the fabric leaving around 5cm excess. I then pinned the fabric together inside out and sewed the cover for the back rest. I turned the cover the right way round and slipped it over the existing back rest. I stapled it together onto the back rest, hiding the staples at the bottom.

Step 5
With the seat pads detached, I traced around the seat pad on to the fabric, again leaving around 5cm excess. I then stapled the new fabric over the old pulling it tight as I went along. I could have removed the old fabric but as the chairs were not torn or ripped, the foam filling didn’t need replacing. It was easier to leave the old fabric in place.
Step 6
Now the fun part! Screwing the seat pad and back rest back on and seeing the chair come back to life.
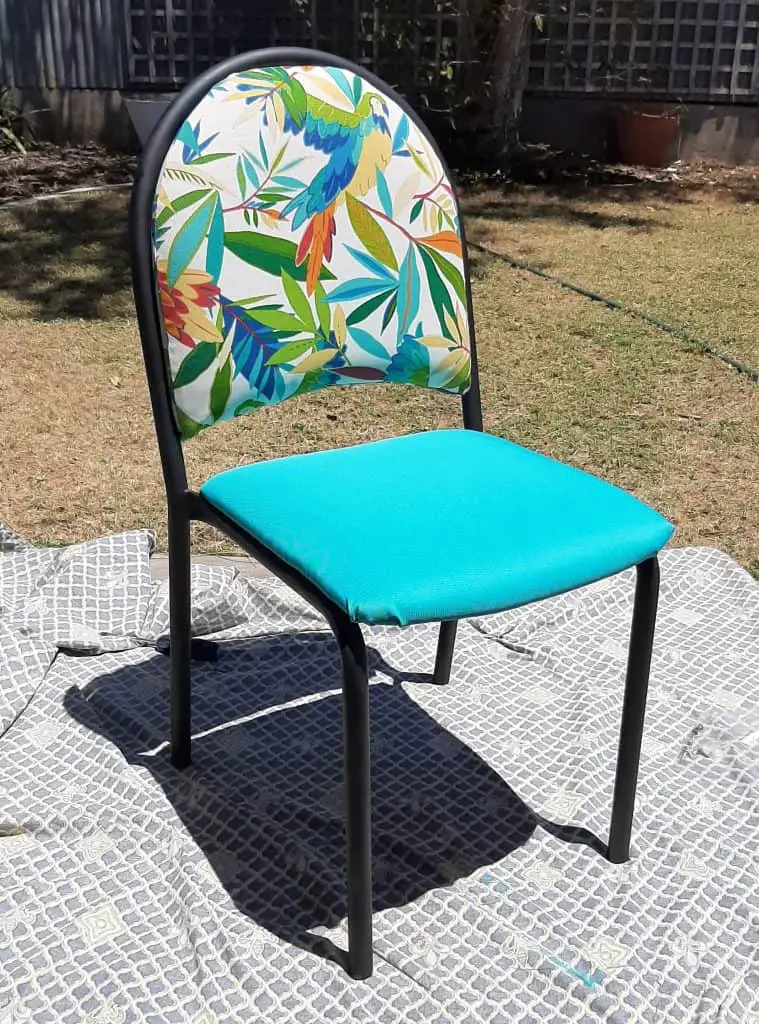
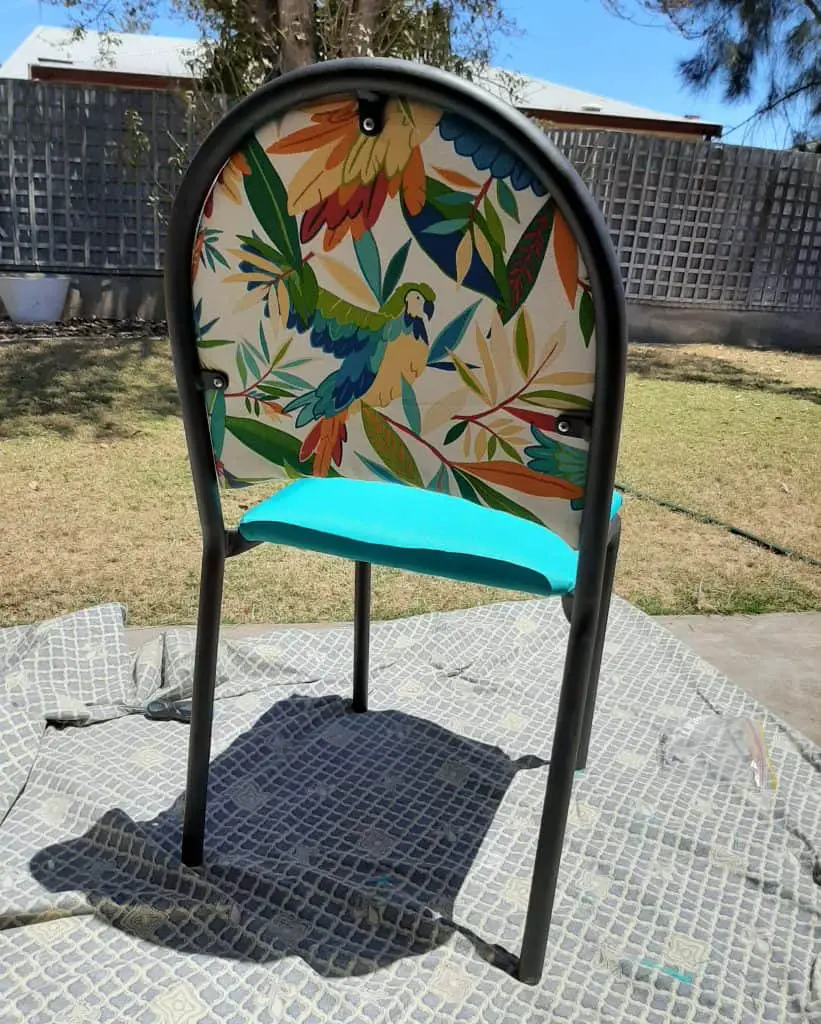
Let me know what you think of the new chairs by commenting below. Many thanks!
Related blog posts
DIY Home Improvement Project: Kitchen Renovation
We started with a typical 70s layout with a separate living room...
Read MoreInterior Design Trends in 2023
In interiors, 2023 brings earthy tones, textured walls, and classical decoration. Sustainability...
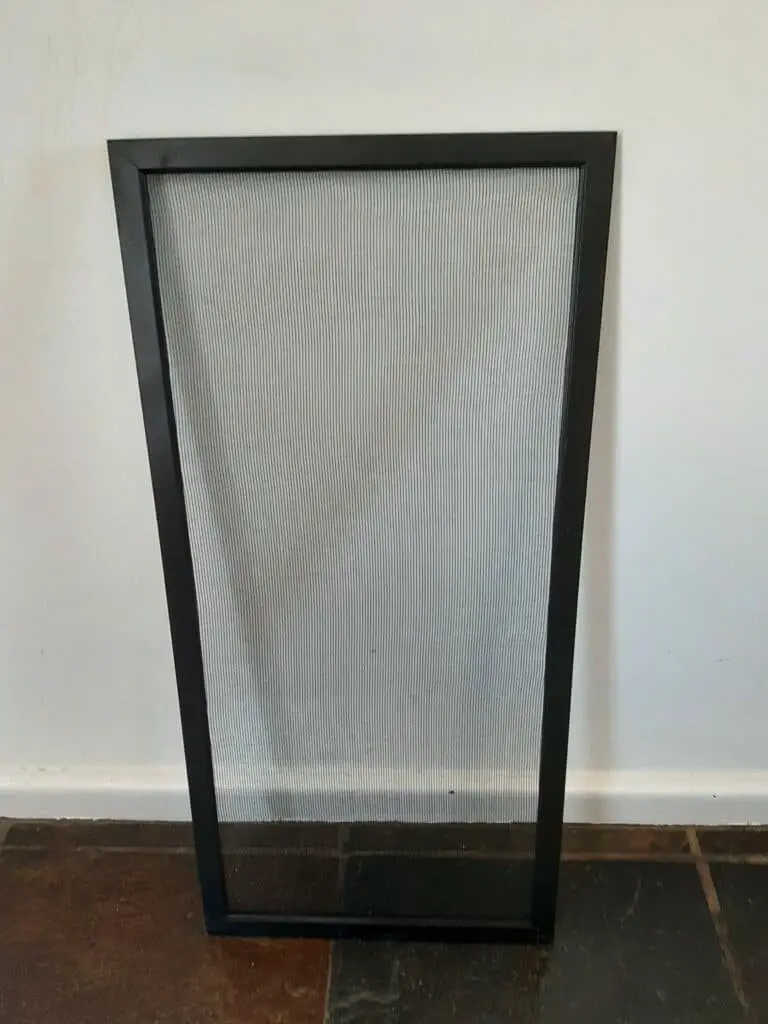
Read MoreDIY Home Decor Project: How to replace a fly screen
An easy DIY project, you can replace your fly screen in a...
Read MoreWhat is a granny flat and is it a good investment?
A granny flat is a self-contained unit located on the same block...
Read More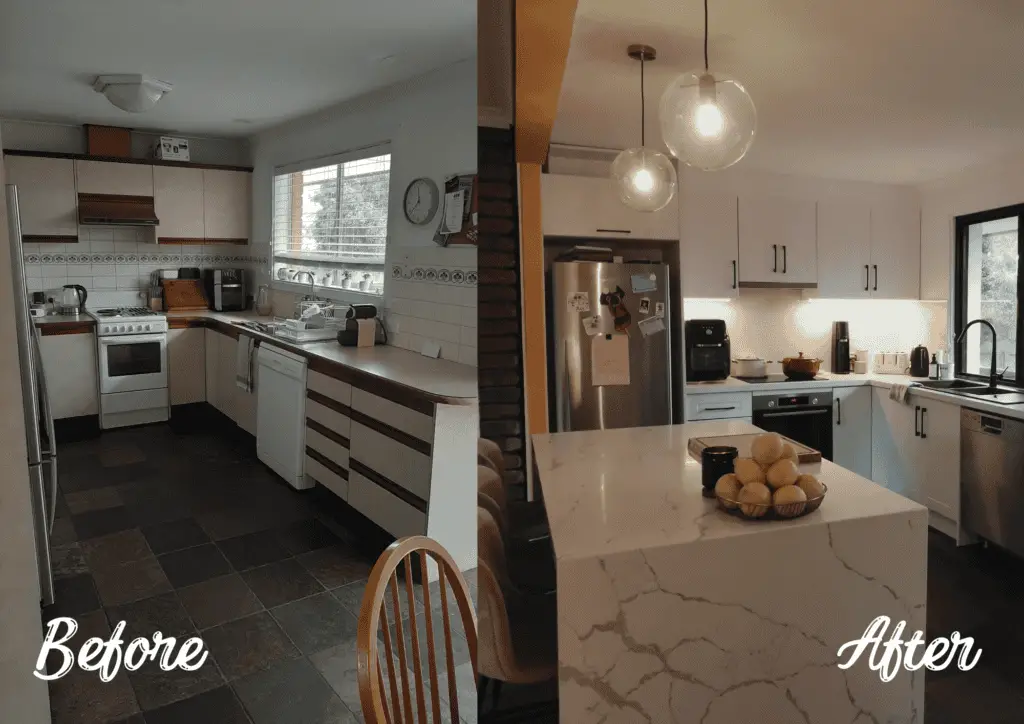


Great transformation! It’s gay how you explain your step by step process too.